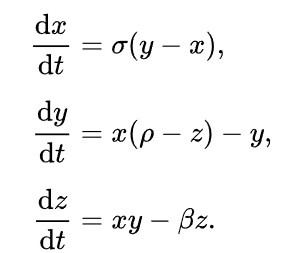
This image was created in Blender 4.2, and then heavily edited in Photoshop. The image was created using geometry nodes. Within a set of repeat nodes, I used math nodes to generate a pattern reflecting a Lorenz attractor. The formula for a Lorenz attractor is as follows:
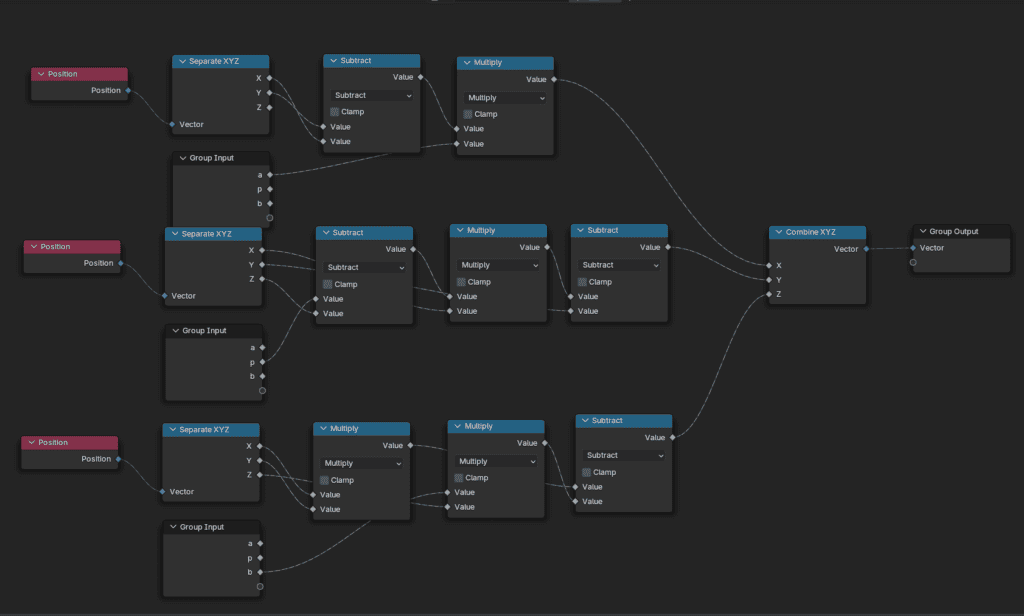
The setup in the math nodes to generate the Lorenz attractor was:
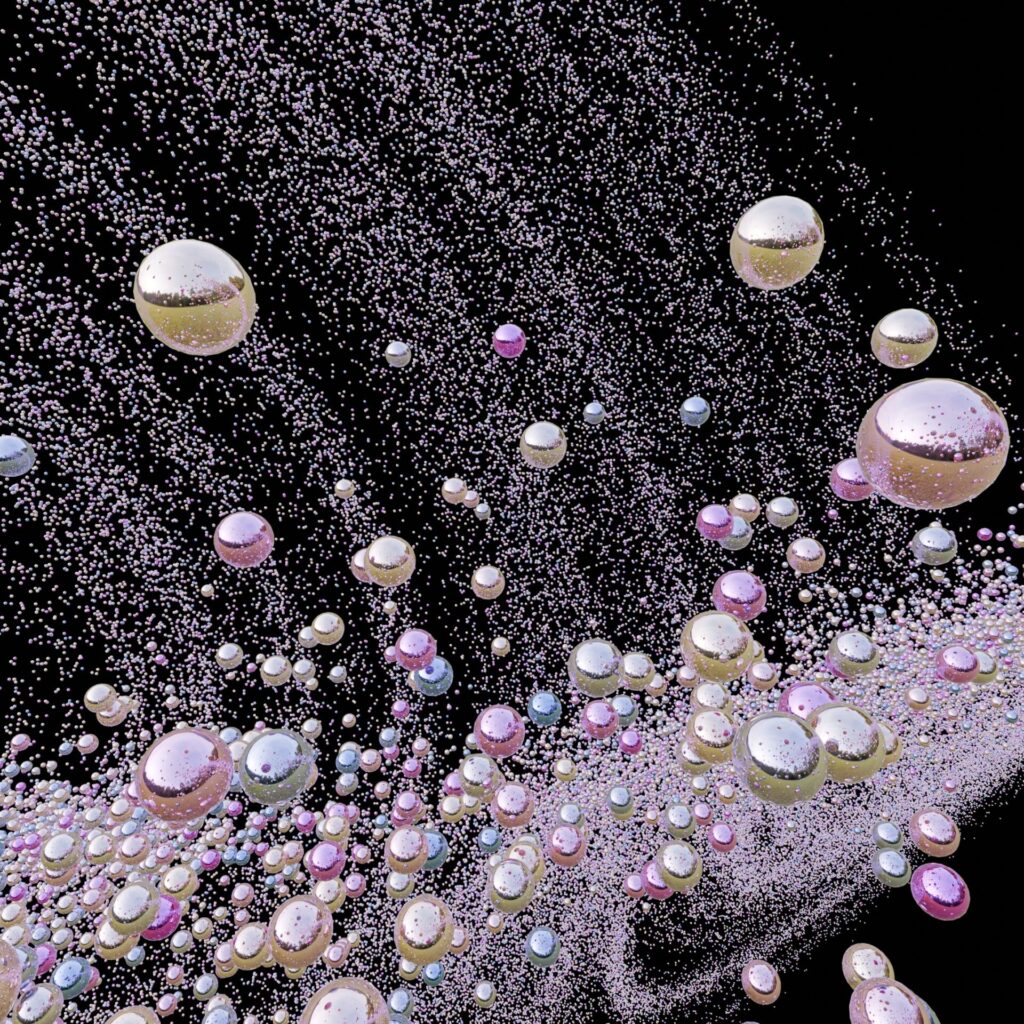
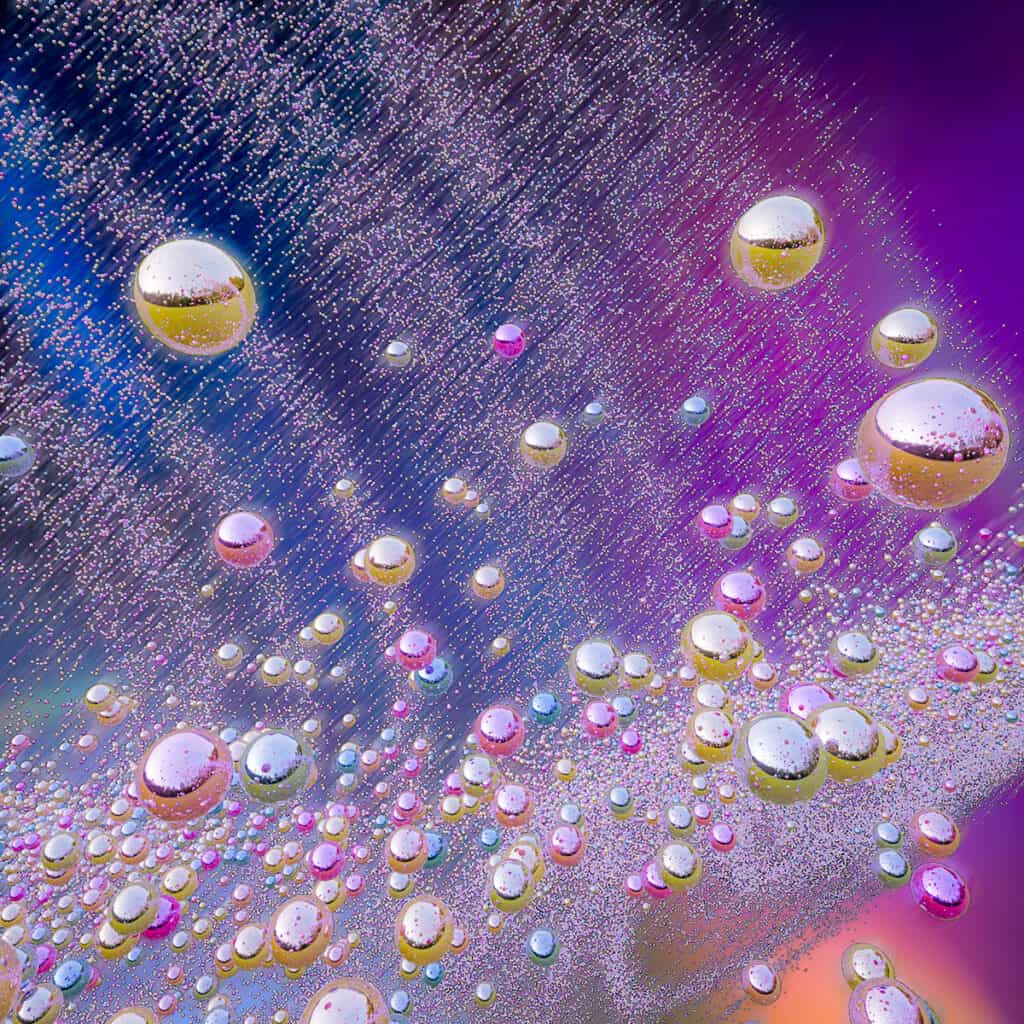
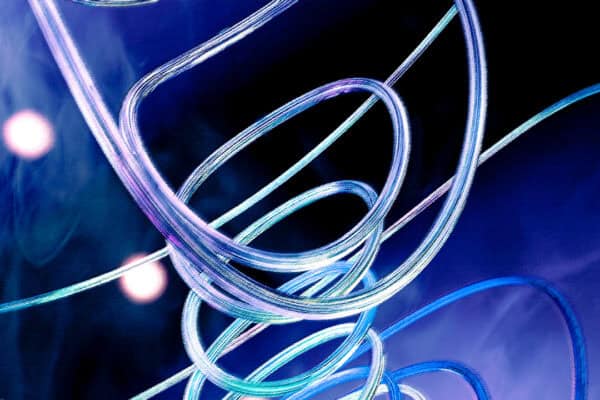
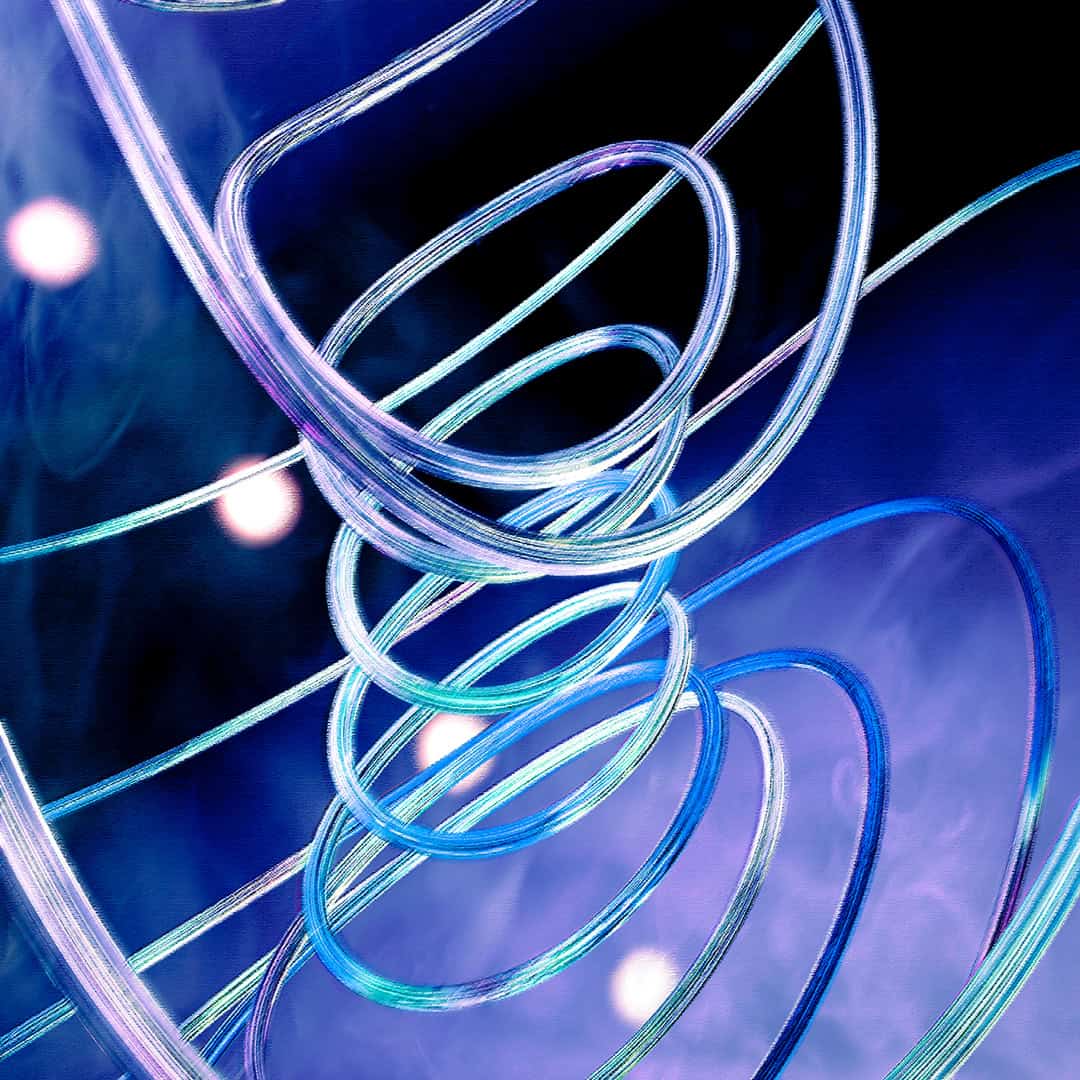
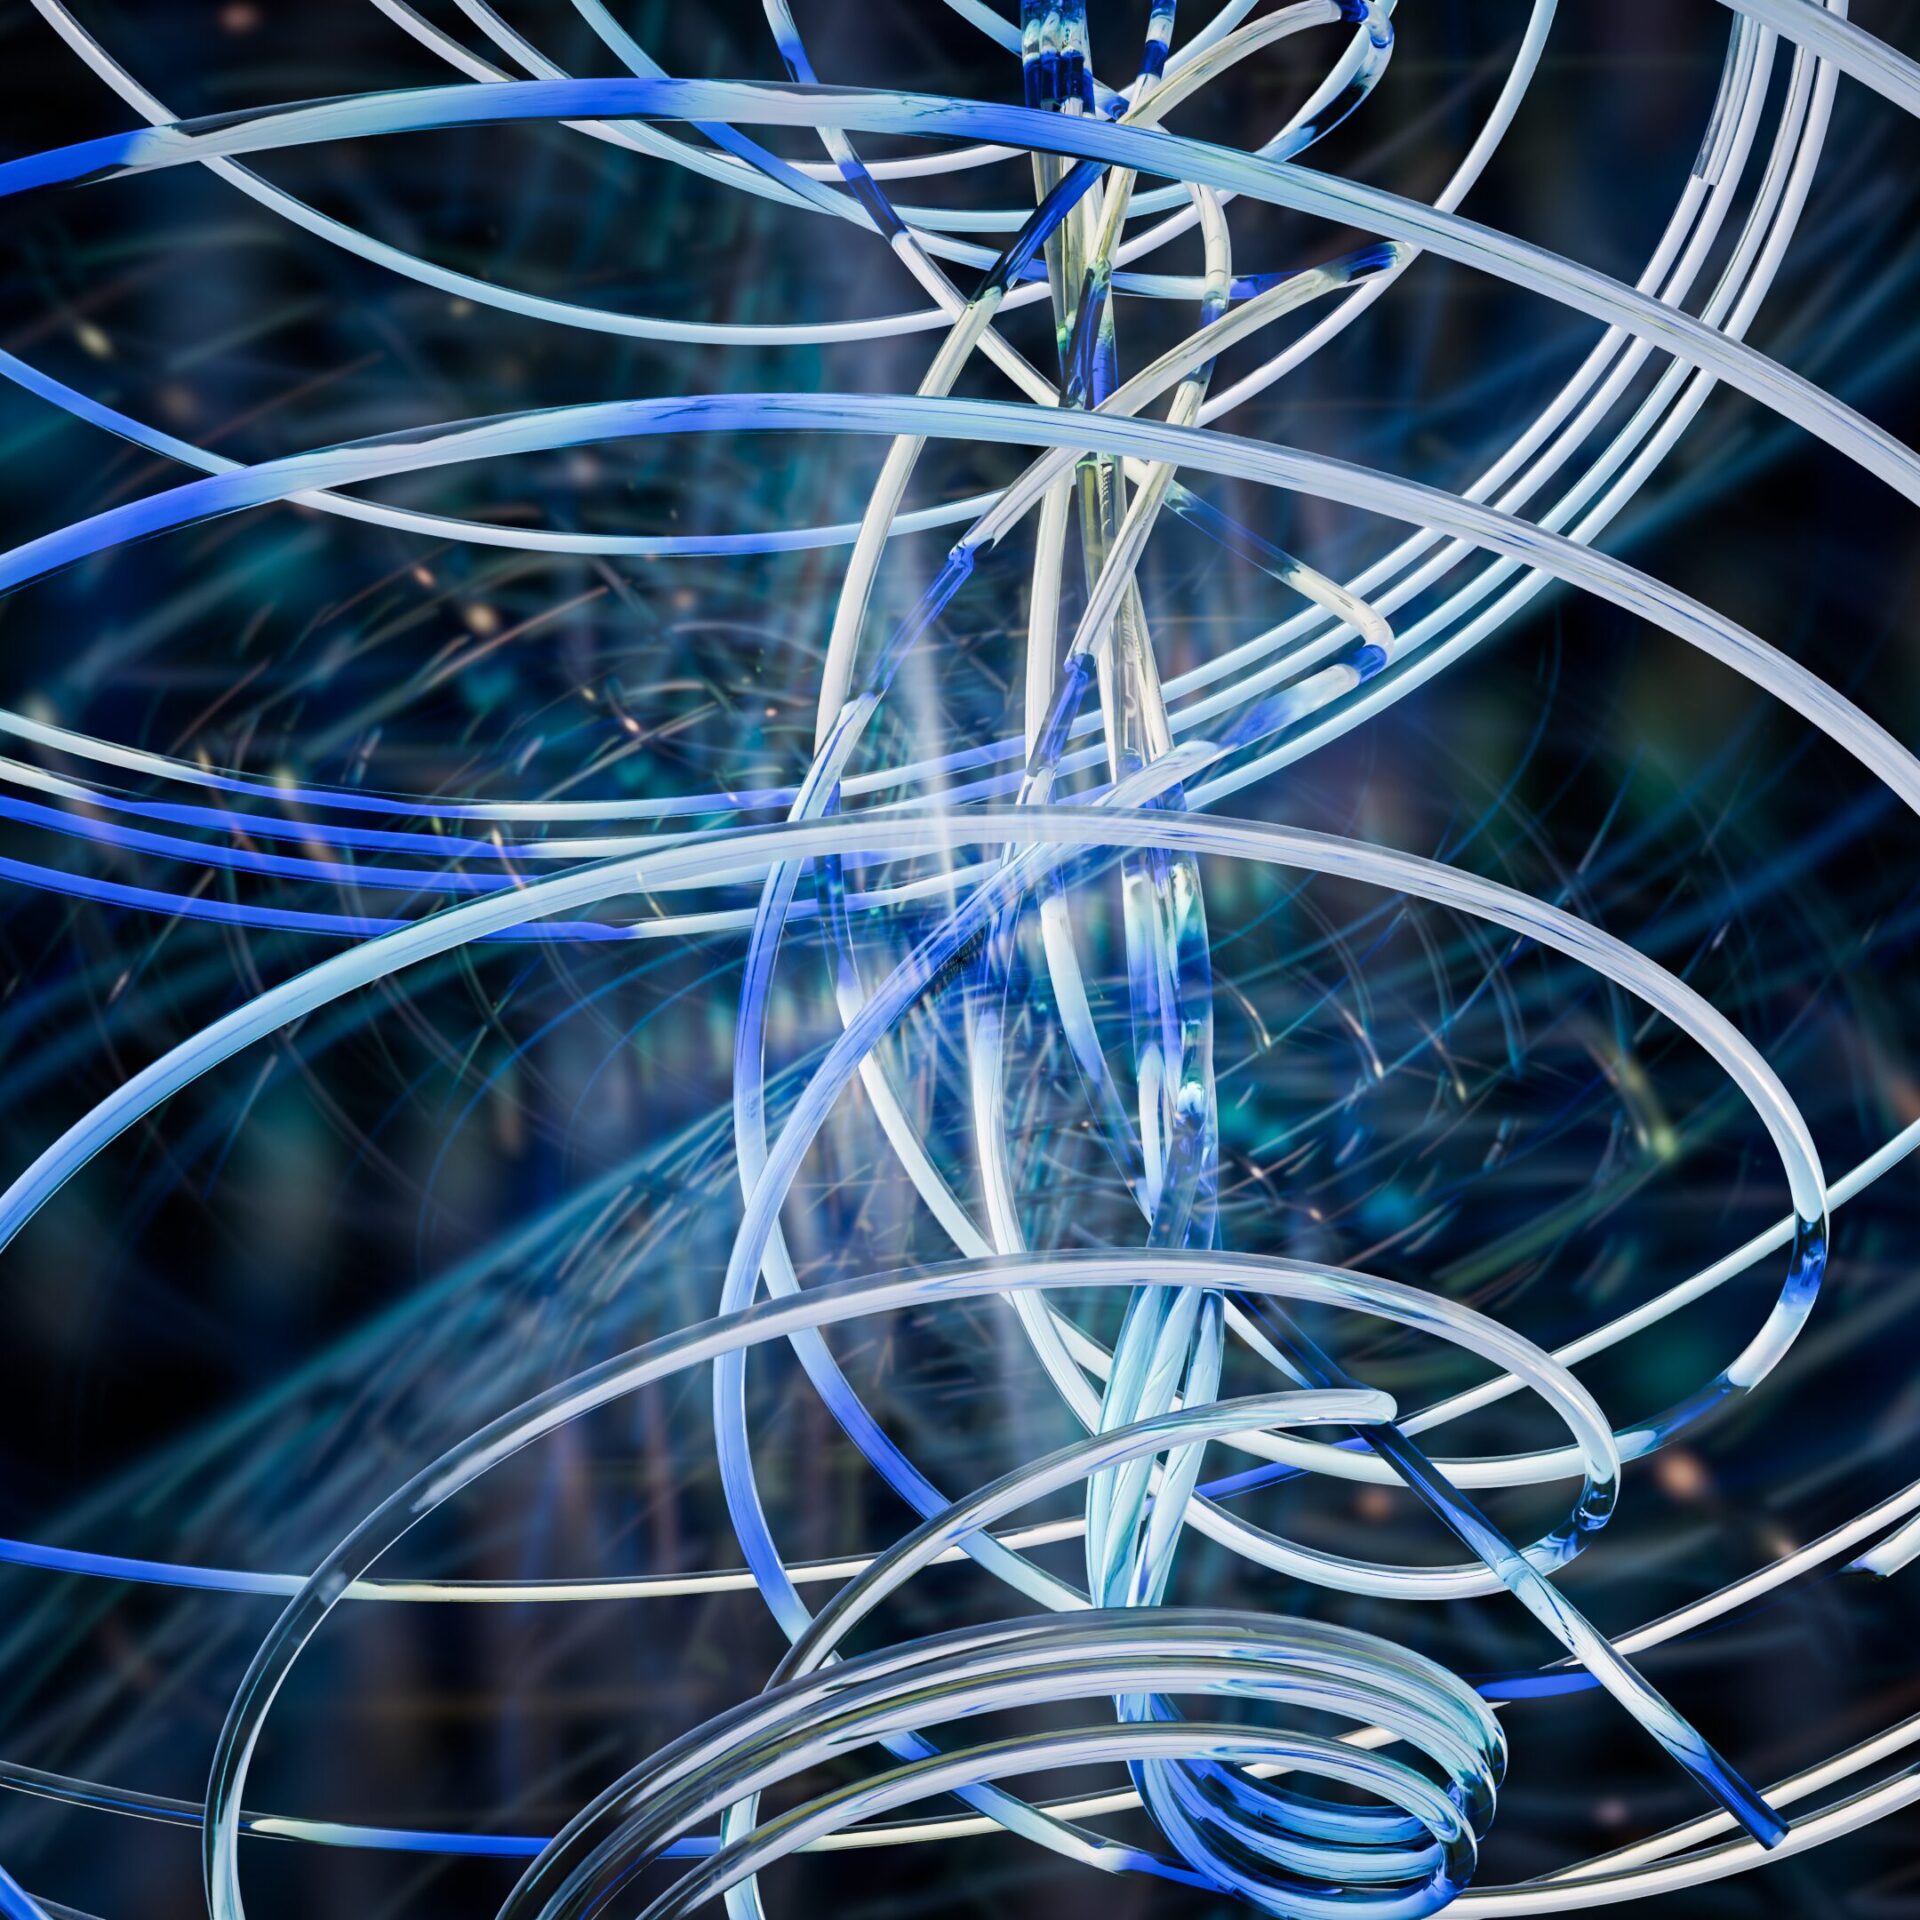
Once the pattern was generated, I baked the formula using the new bake node. That made playing with the subsequent nodes after the bake much more responsive. Once I had converted the curves to mesh, I created points on the mesh, and used an icosphere for the instances. I added random colors to the icospheres using a random object info node and a color ramp. The resulting Blender render was:
Step 2: Photoshop manipulations
I wasn’t too concerned about getting the image perfect in Blender, knowing that I would heavily edit the image in Photoshop. I did, however, concentrate on composition and used a HDR from Polyhaven to get the overall lighting right.
From here I took the image into Photoshop. The first step was to select the background. I had rendered the image intentionally with a pure black background, so selecting the background was easy using the magic wand with the contiguous switch turned off.
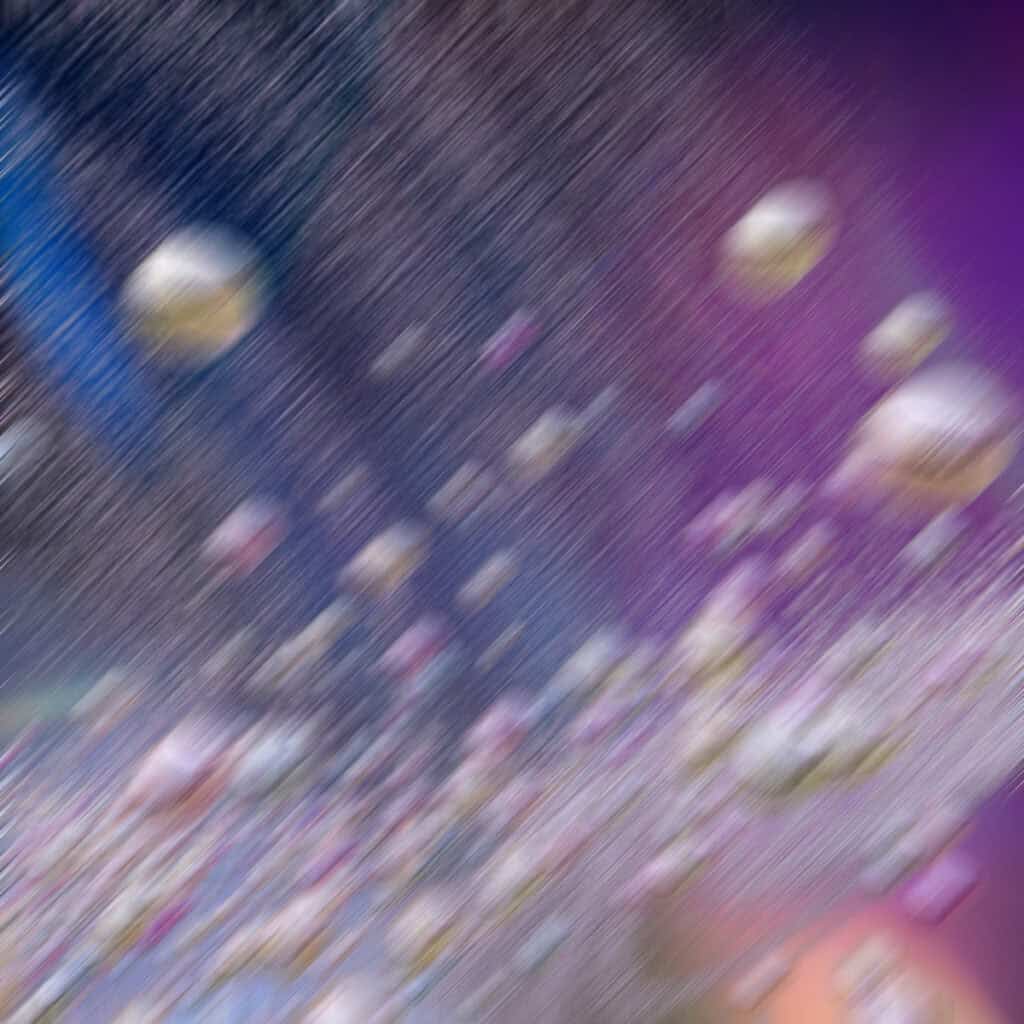
I duplicated this layer, and for the original layer added motion blur.
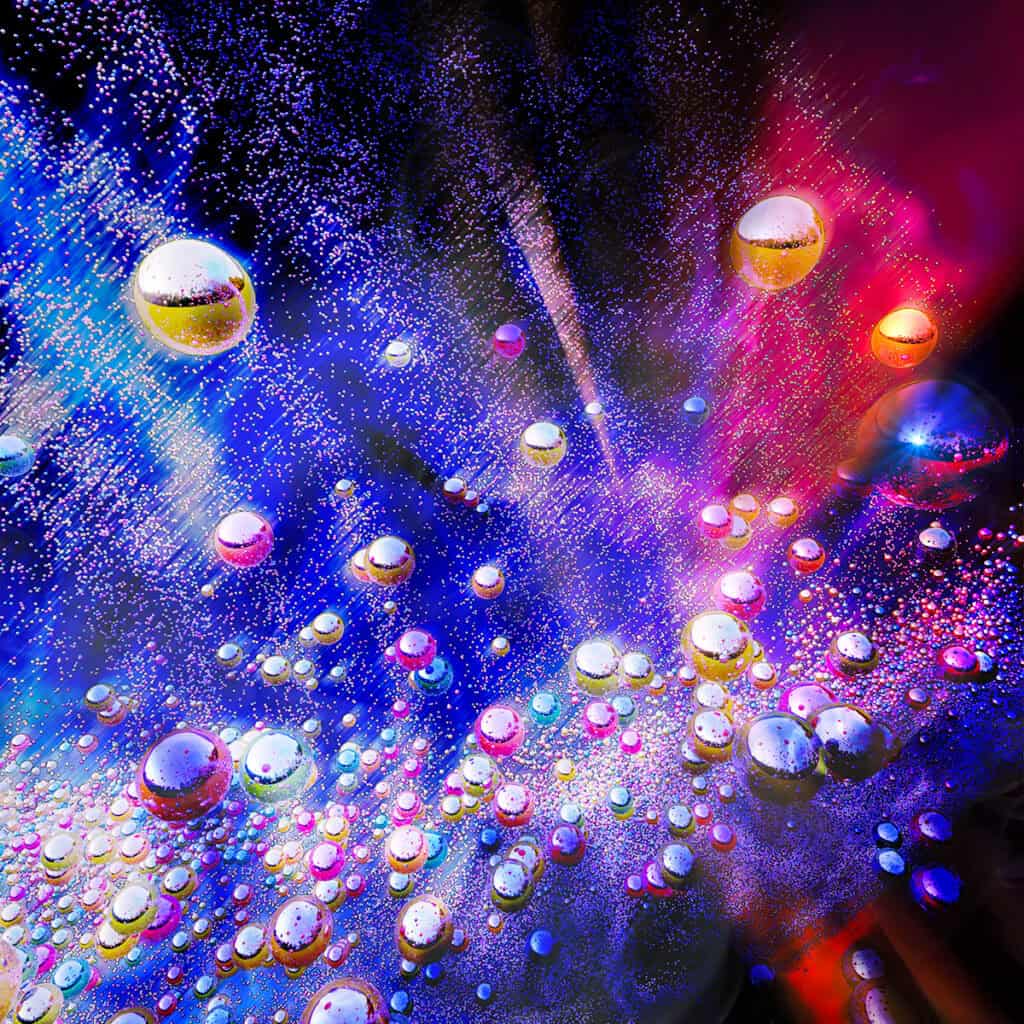
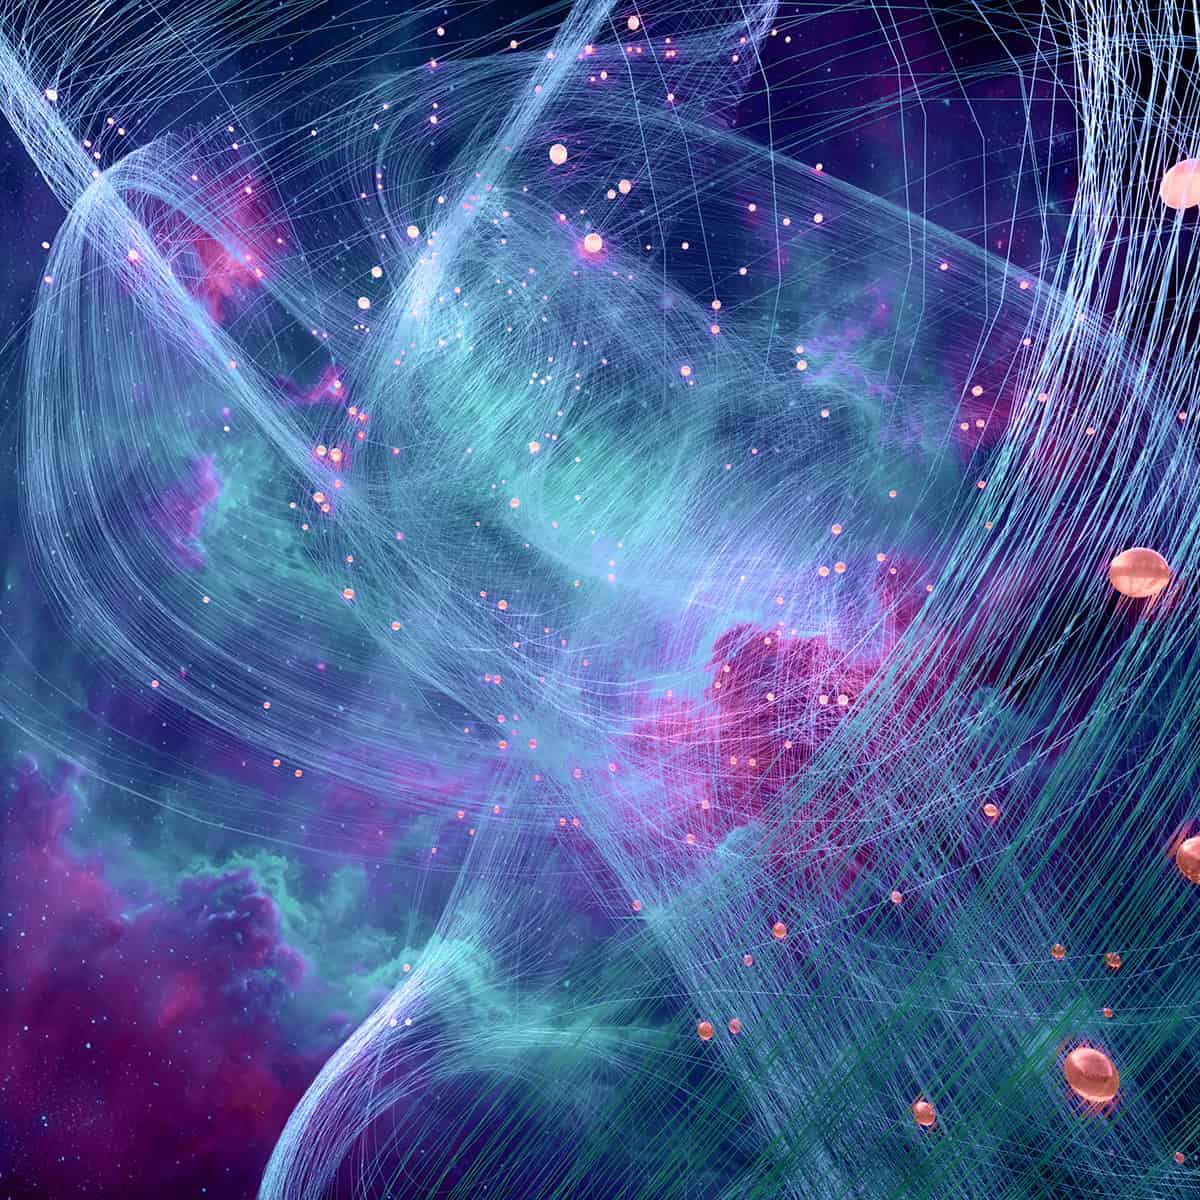
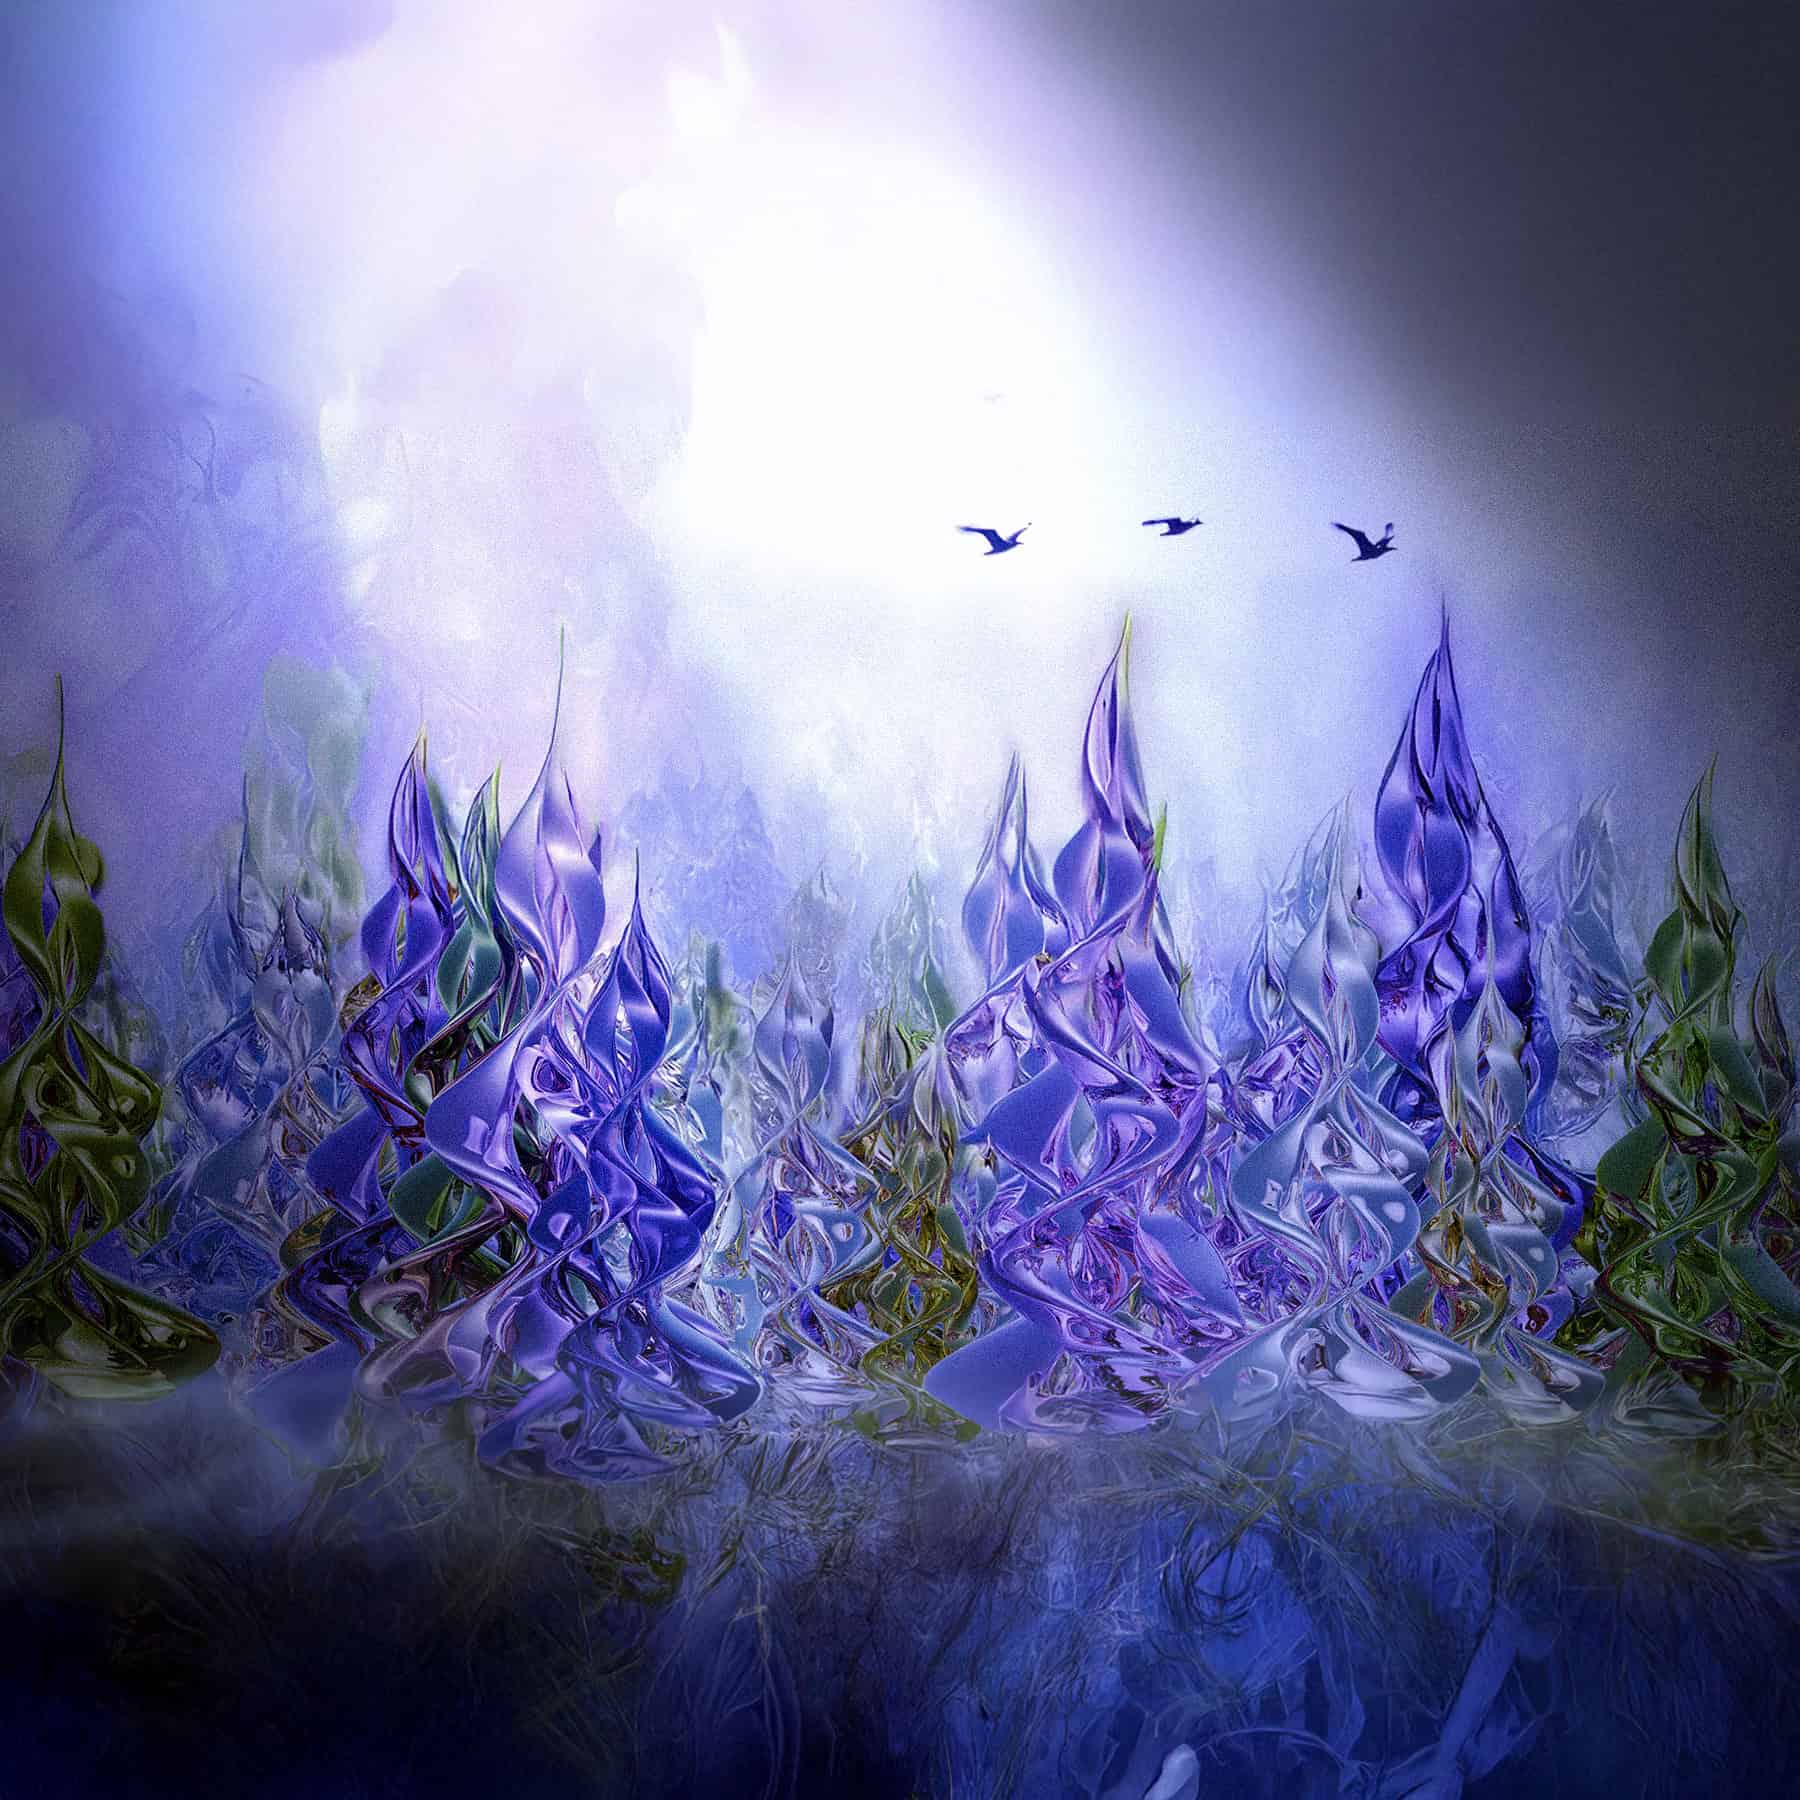
This gave me a nice compostion with some motion blur but most of the image sharp. I also added the background overlay at that point using a Flurbos refraction overlay from their depth master pro product.
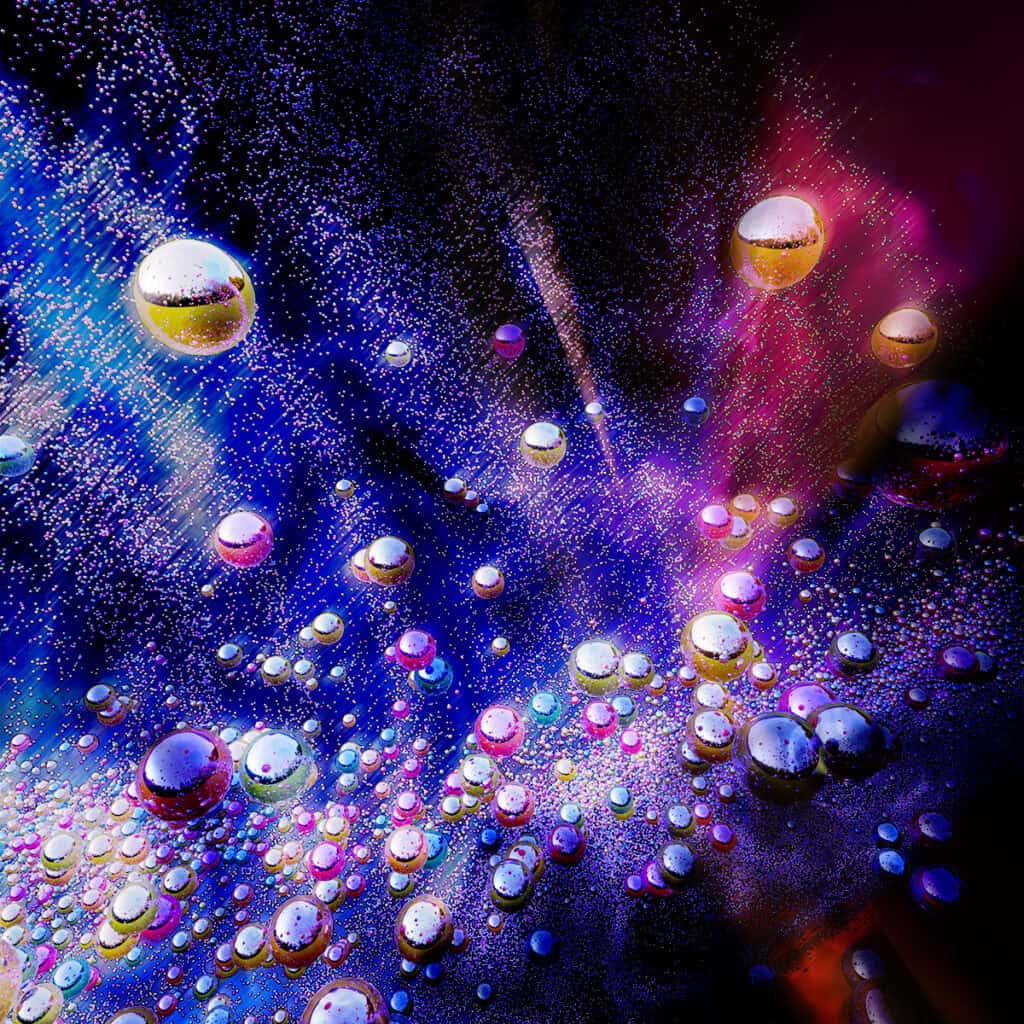
Next I made a new snapshot of this layer (ctrl+alt+shift+e) and adjusted the composite with the camera raw filter:
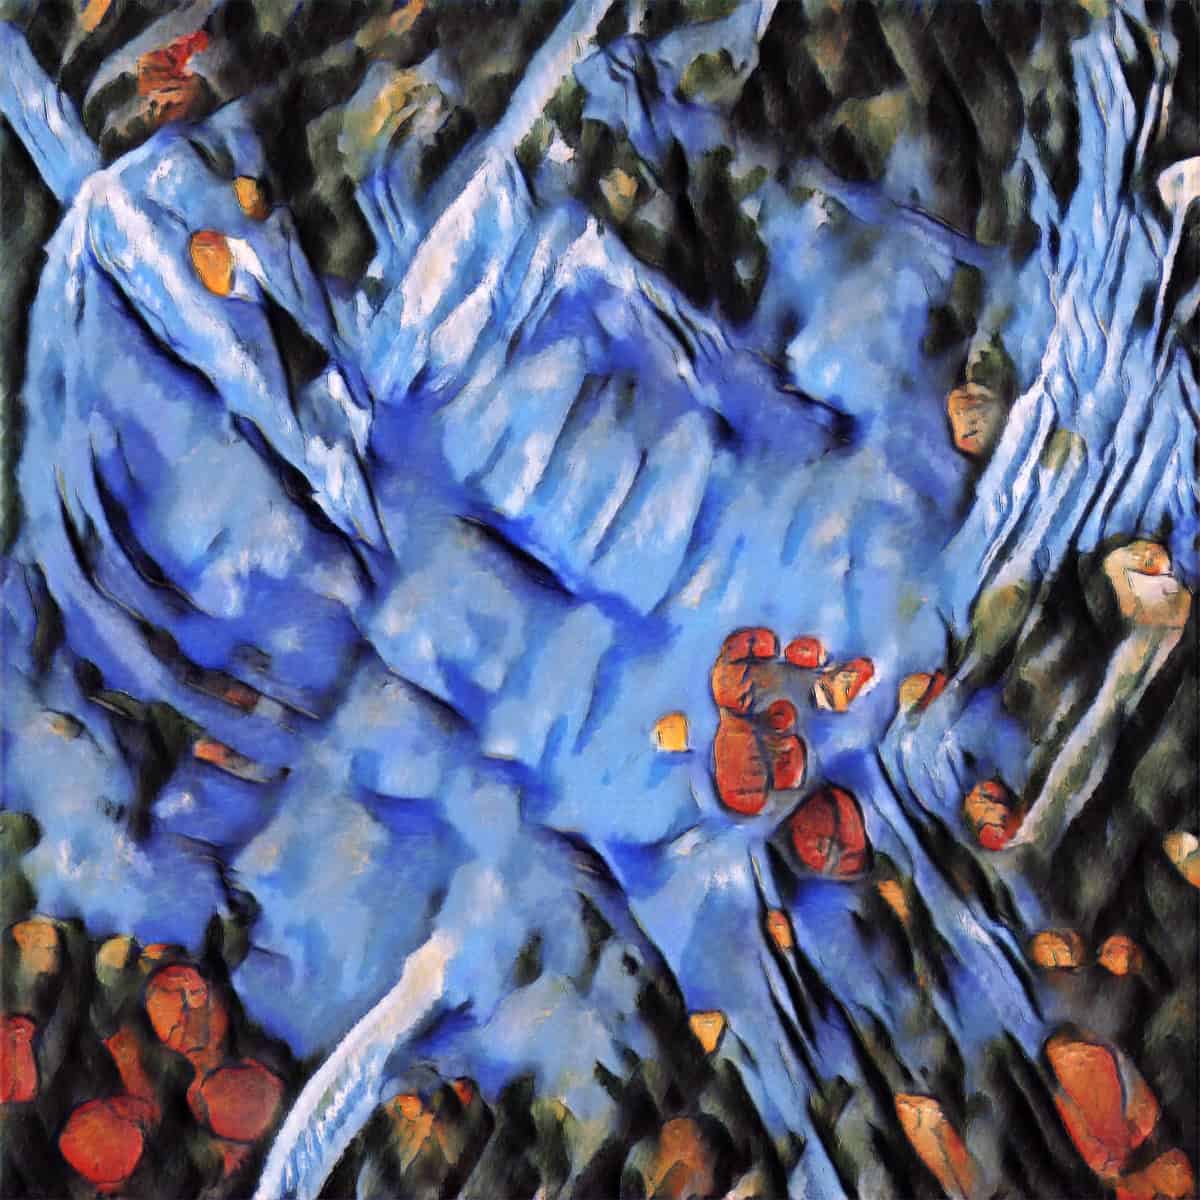
I then added an “Analog Light Leak” overlay with the blending mode set to Overlay:
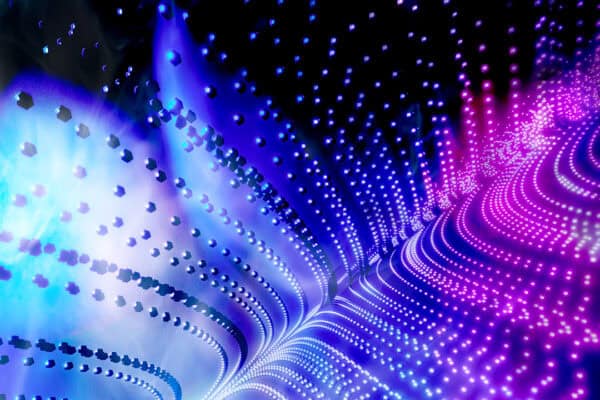
I then added a smoke layer and added a clipping mask to that. I used a black brush to remove any smoke that was obvious, and set the transparency to 40% and the screen mode to Linear Dodge. I then added a glare overlay and took the composite image layer into the camera raw filter to adjust the final image and ended up with the following:
As per usual, I really didn’t know what I was going to end up with, and that of course was most of the fun! I knew I liked the composition and color differentiation in Blender, and knew that I could use Photoshop to create the magic.
Obviously this approach would never work in an animation. I would have to do that using the compositor, motion blur, and then take it into After Effects for FX. But for a still image, the image could have ended up in many directions. I liked the eventual pop of this image.
I’ve found this geometry nodes setup works great for me, and lets me generate all sorts of abstract forms by either playing with the values for the attractor, or using a different attractor equation (this one was a Lorenz).
To see other attractor images I’ve created, click here.
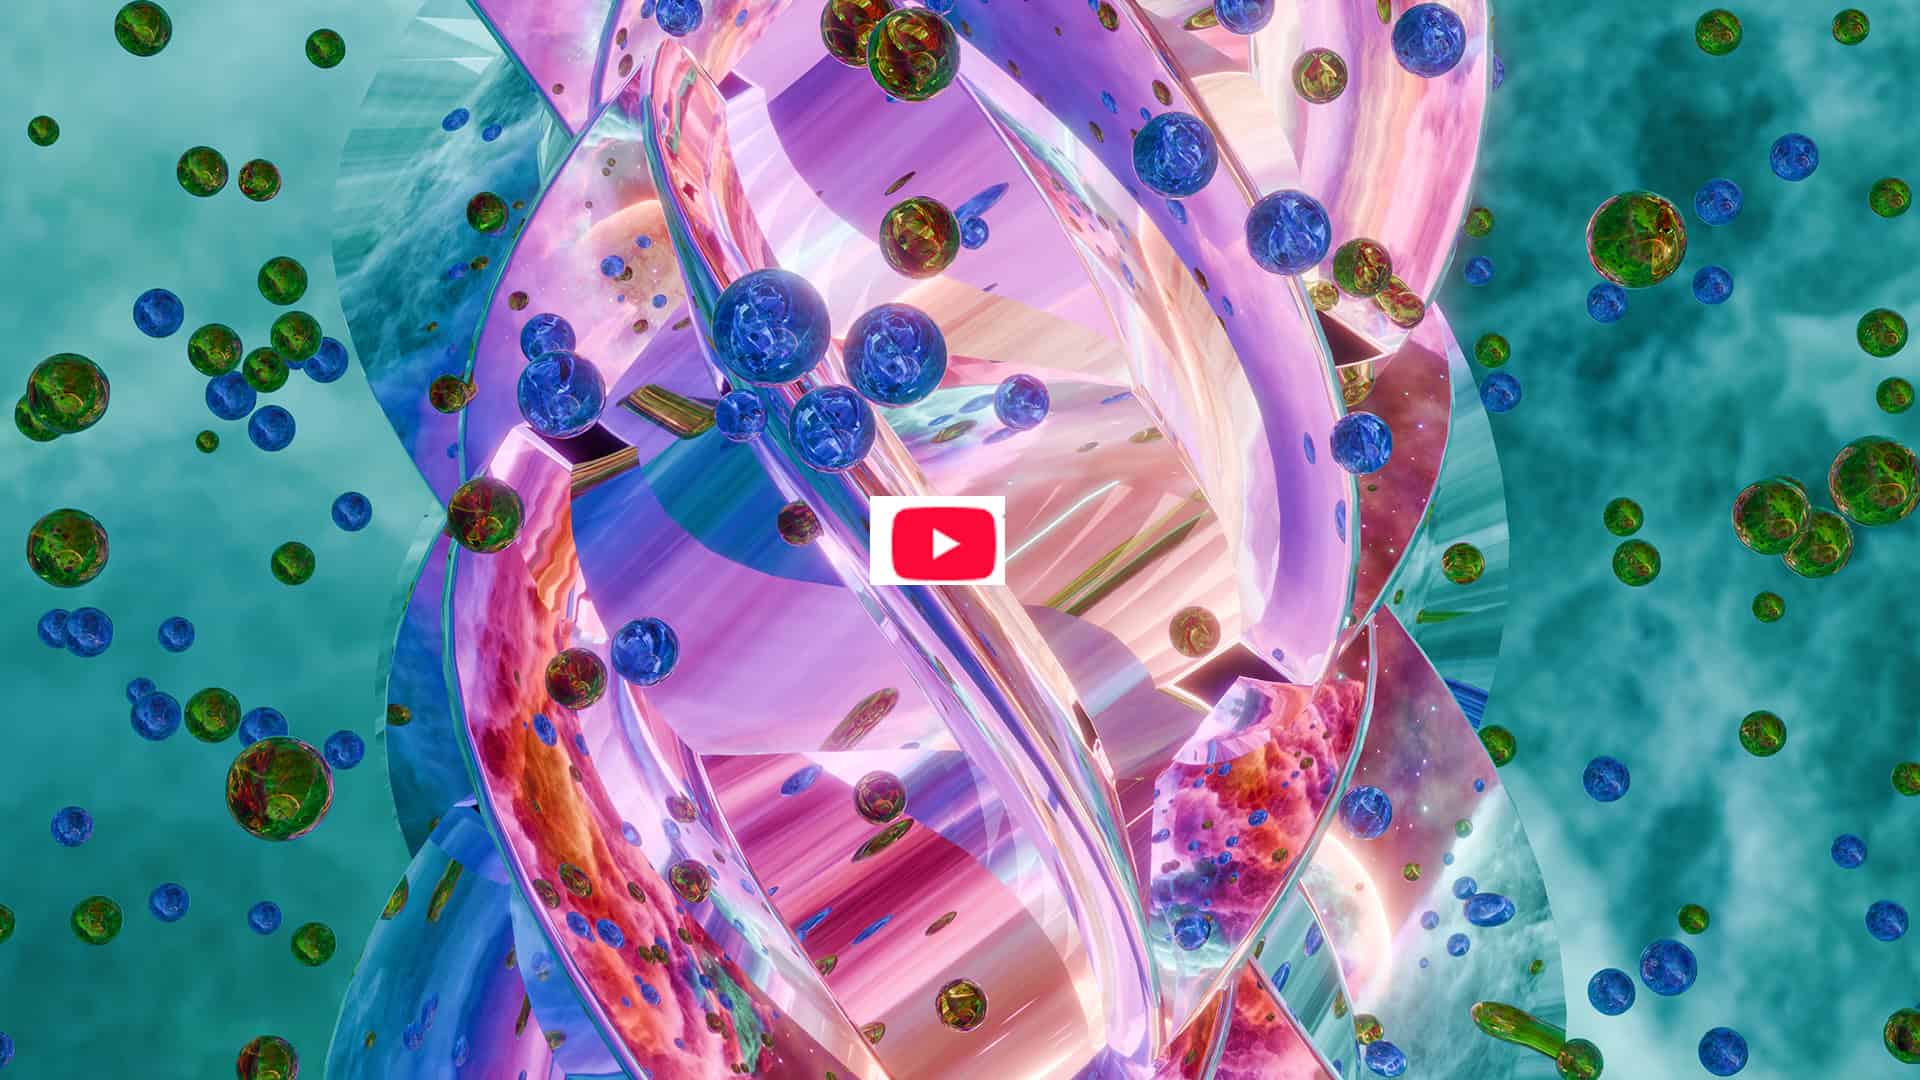
To watch a YouTube video on how to make these attractors in Blender Geometry nodes click here.
I hope you found this helpful. If you have questions don’t hesitate to reach out to me below.