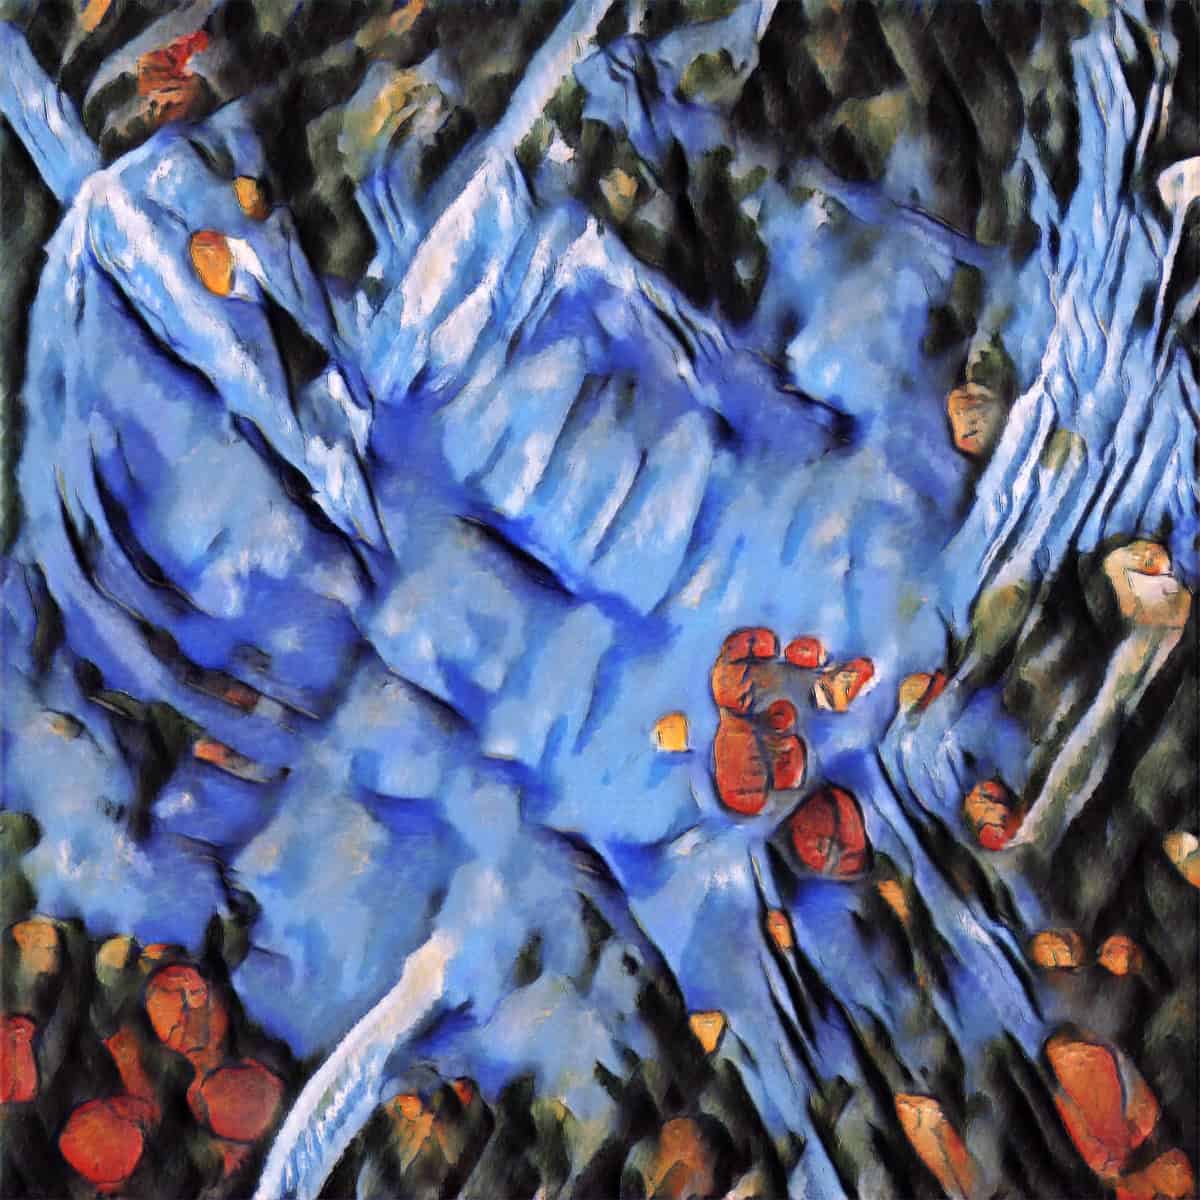
Continuing on with my experimentation with creating Lorenz Attractor renderings, I created this image. It is done in Blender 4.2 using geometry nodes. As shown before, the formula for a Lorenz attractor is as follows:
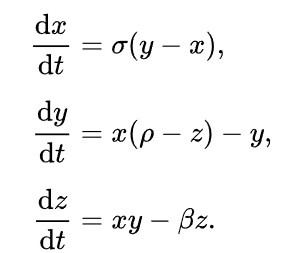
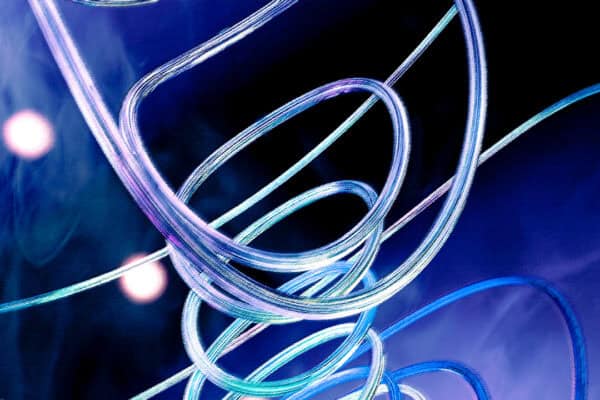
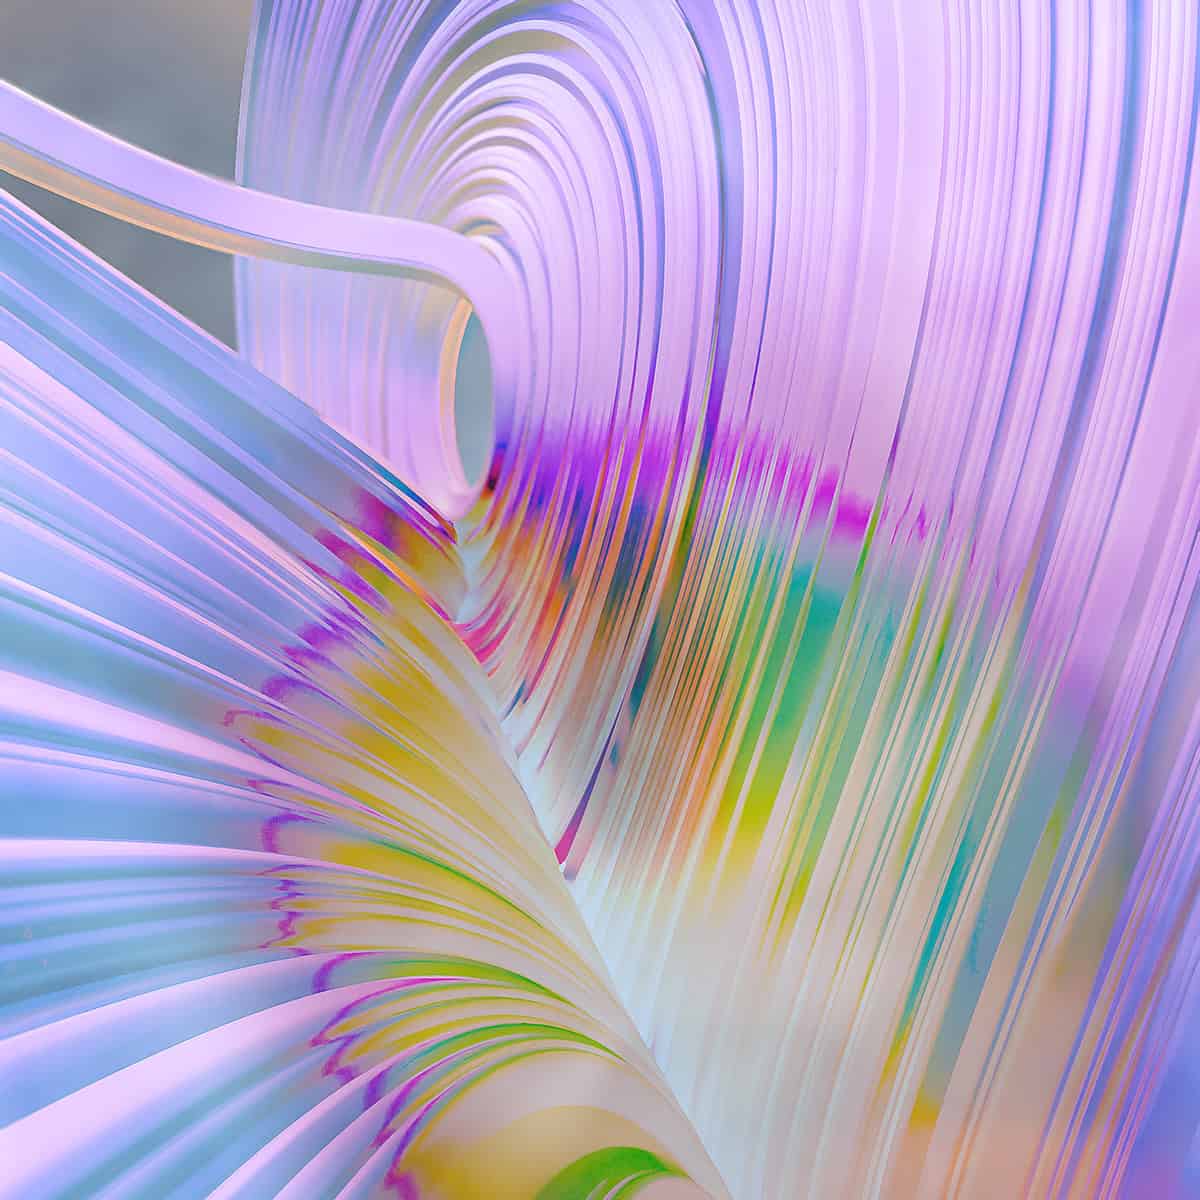
The image was generated using cycles rendering in Blender with glare added through the compositor. The initial render looked like the image below:
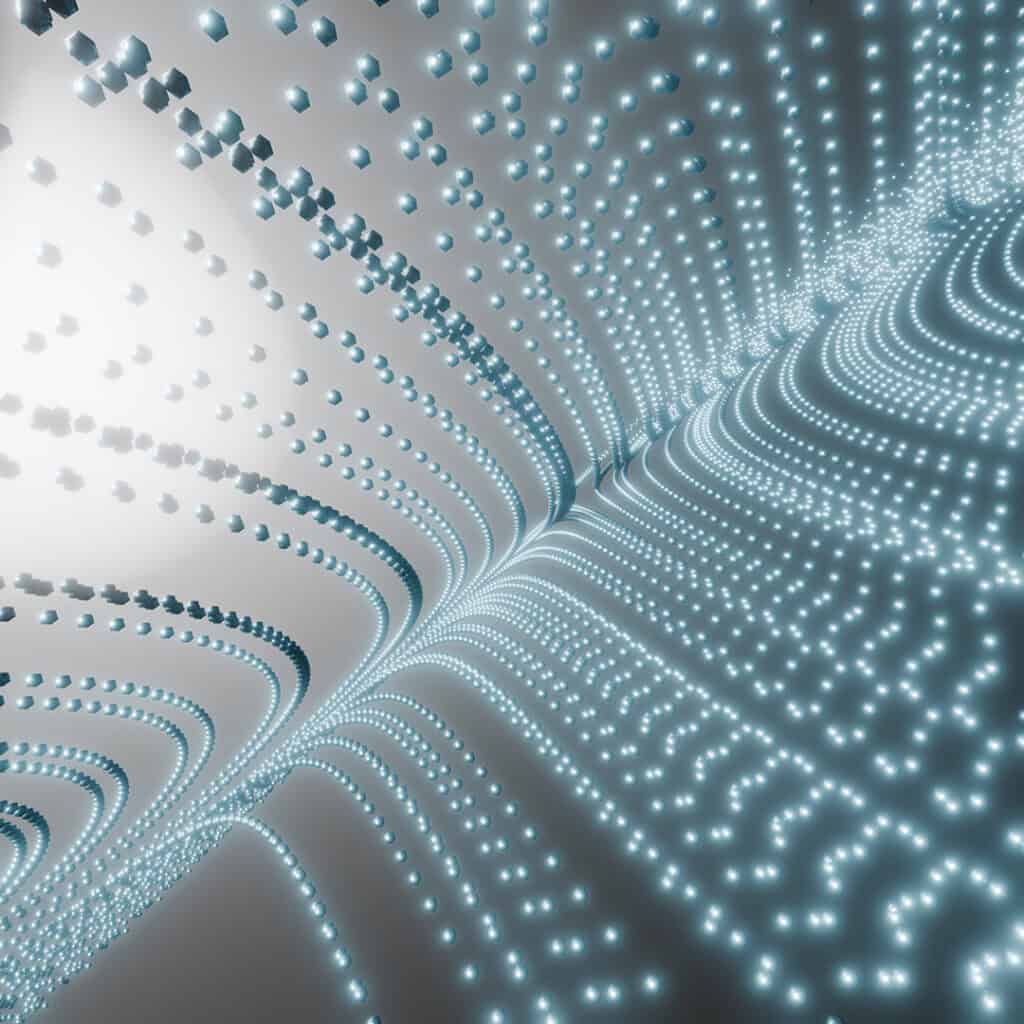
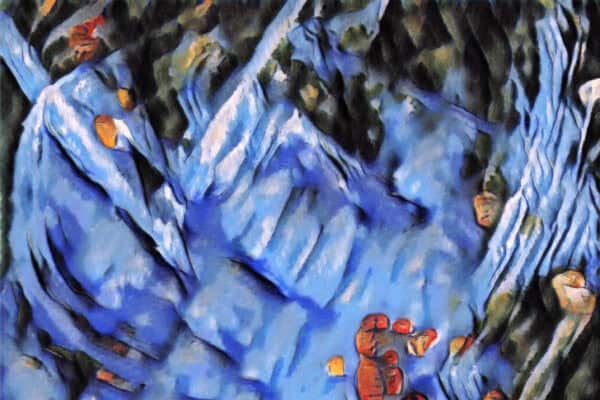
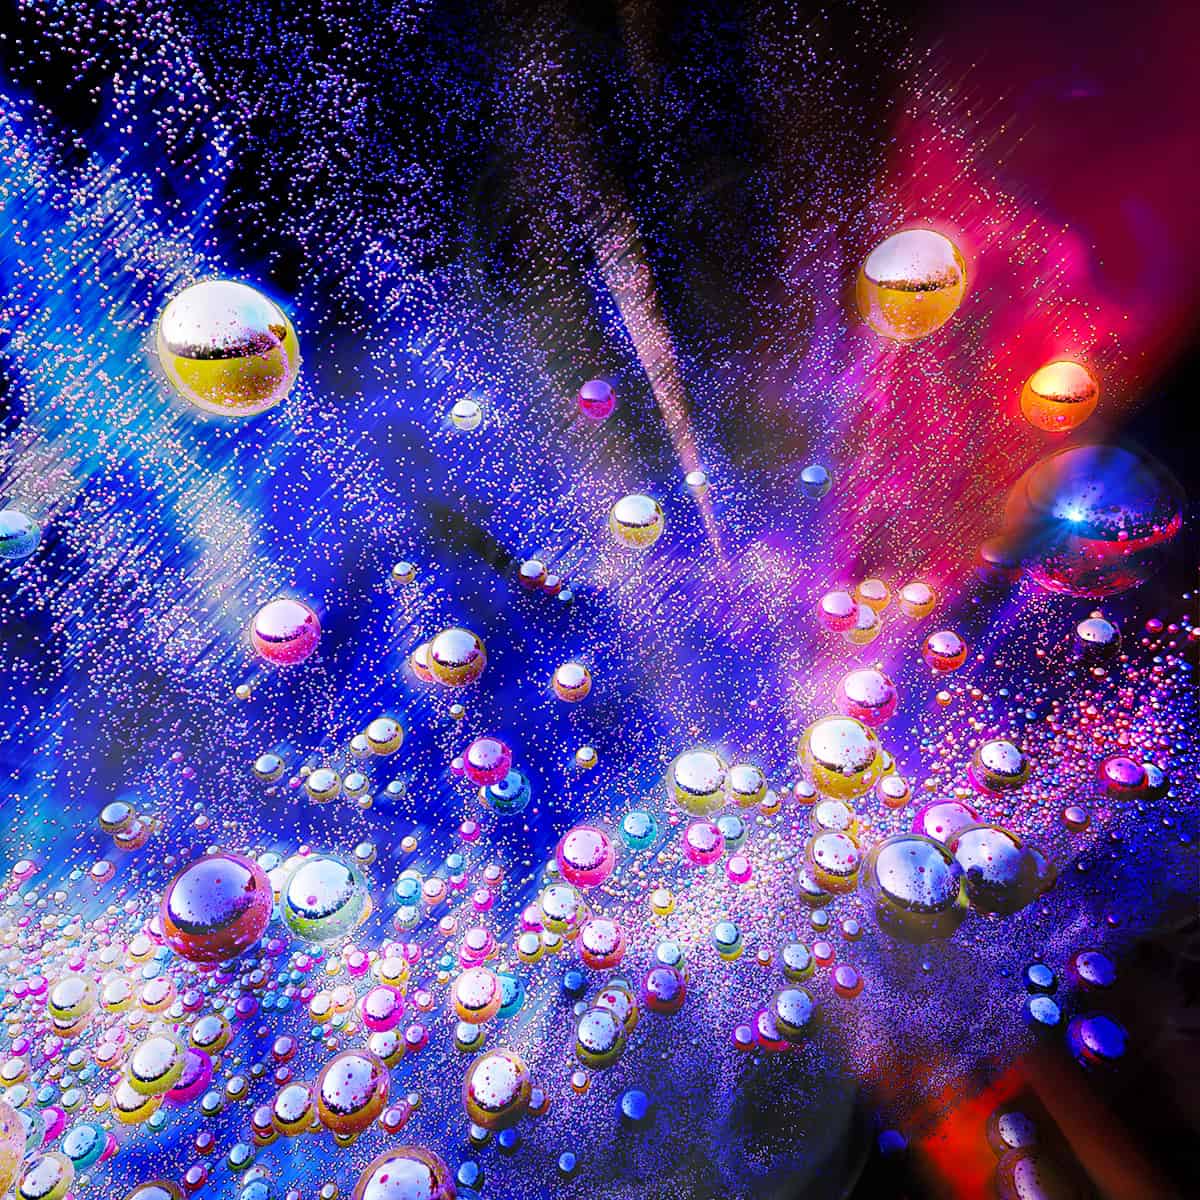
I brought the image into Photoshop, and first added a gradient adjustment layer:
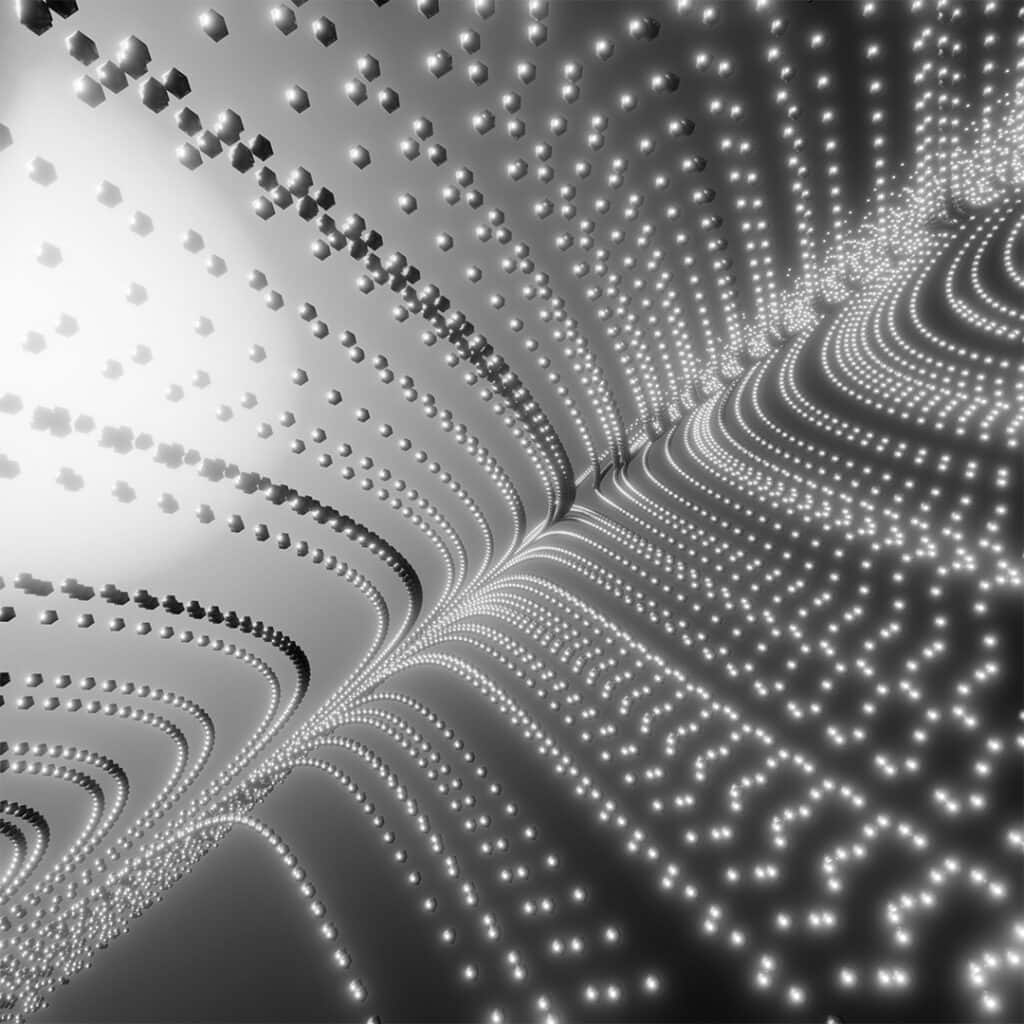
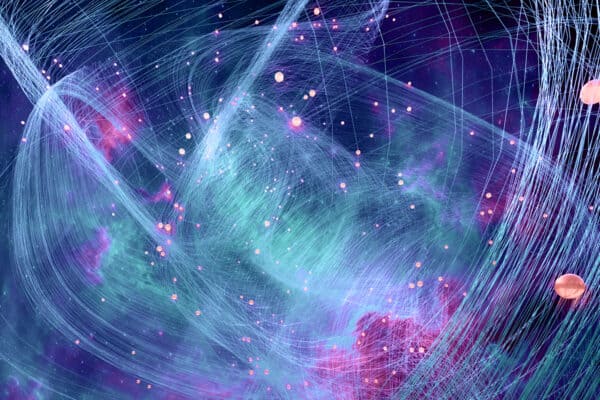
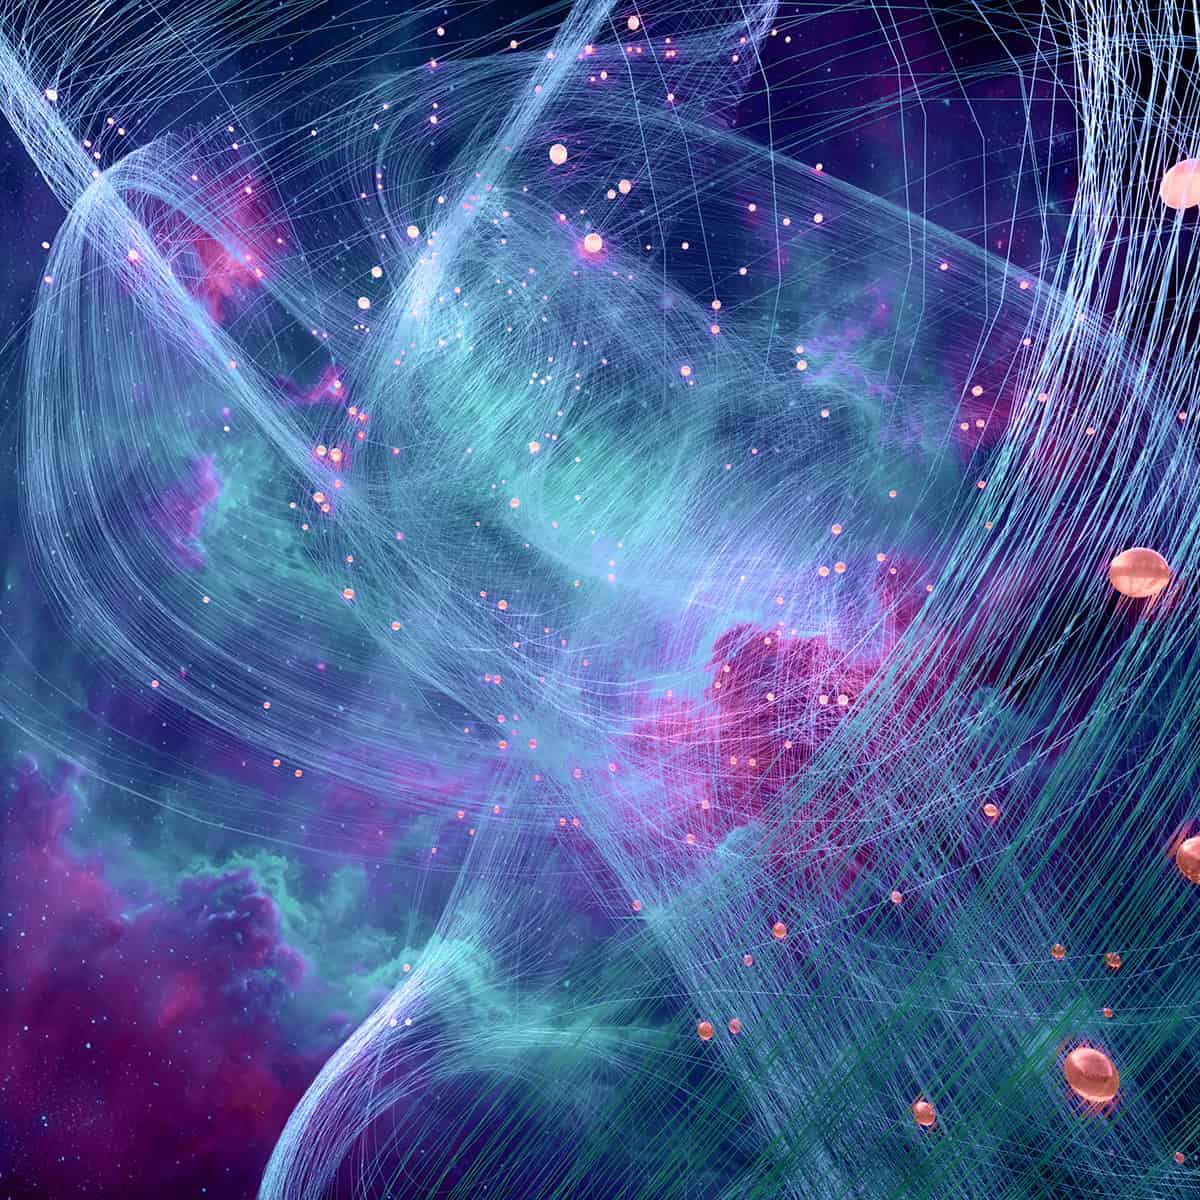
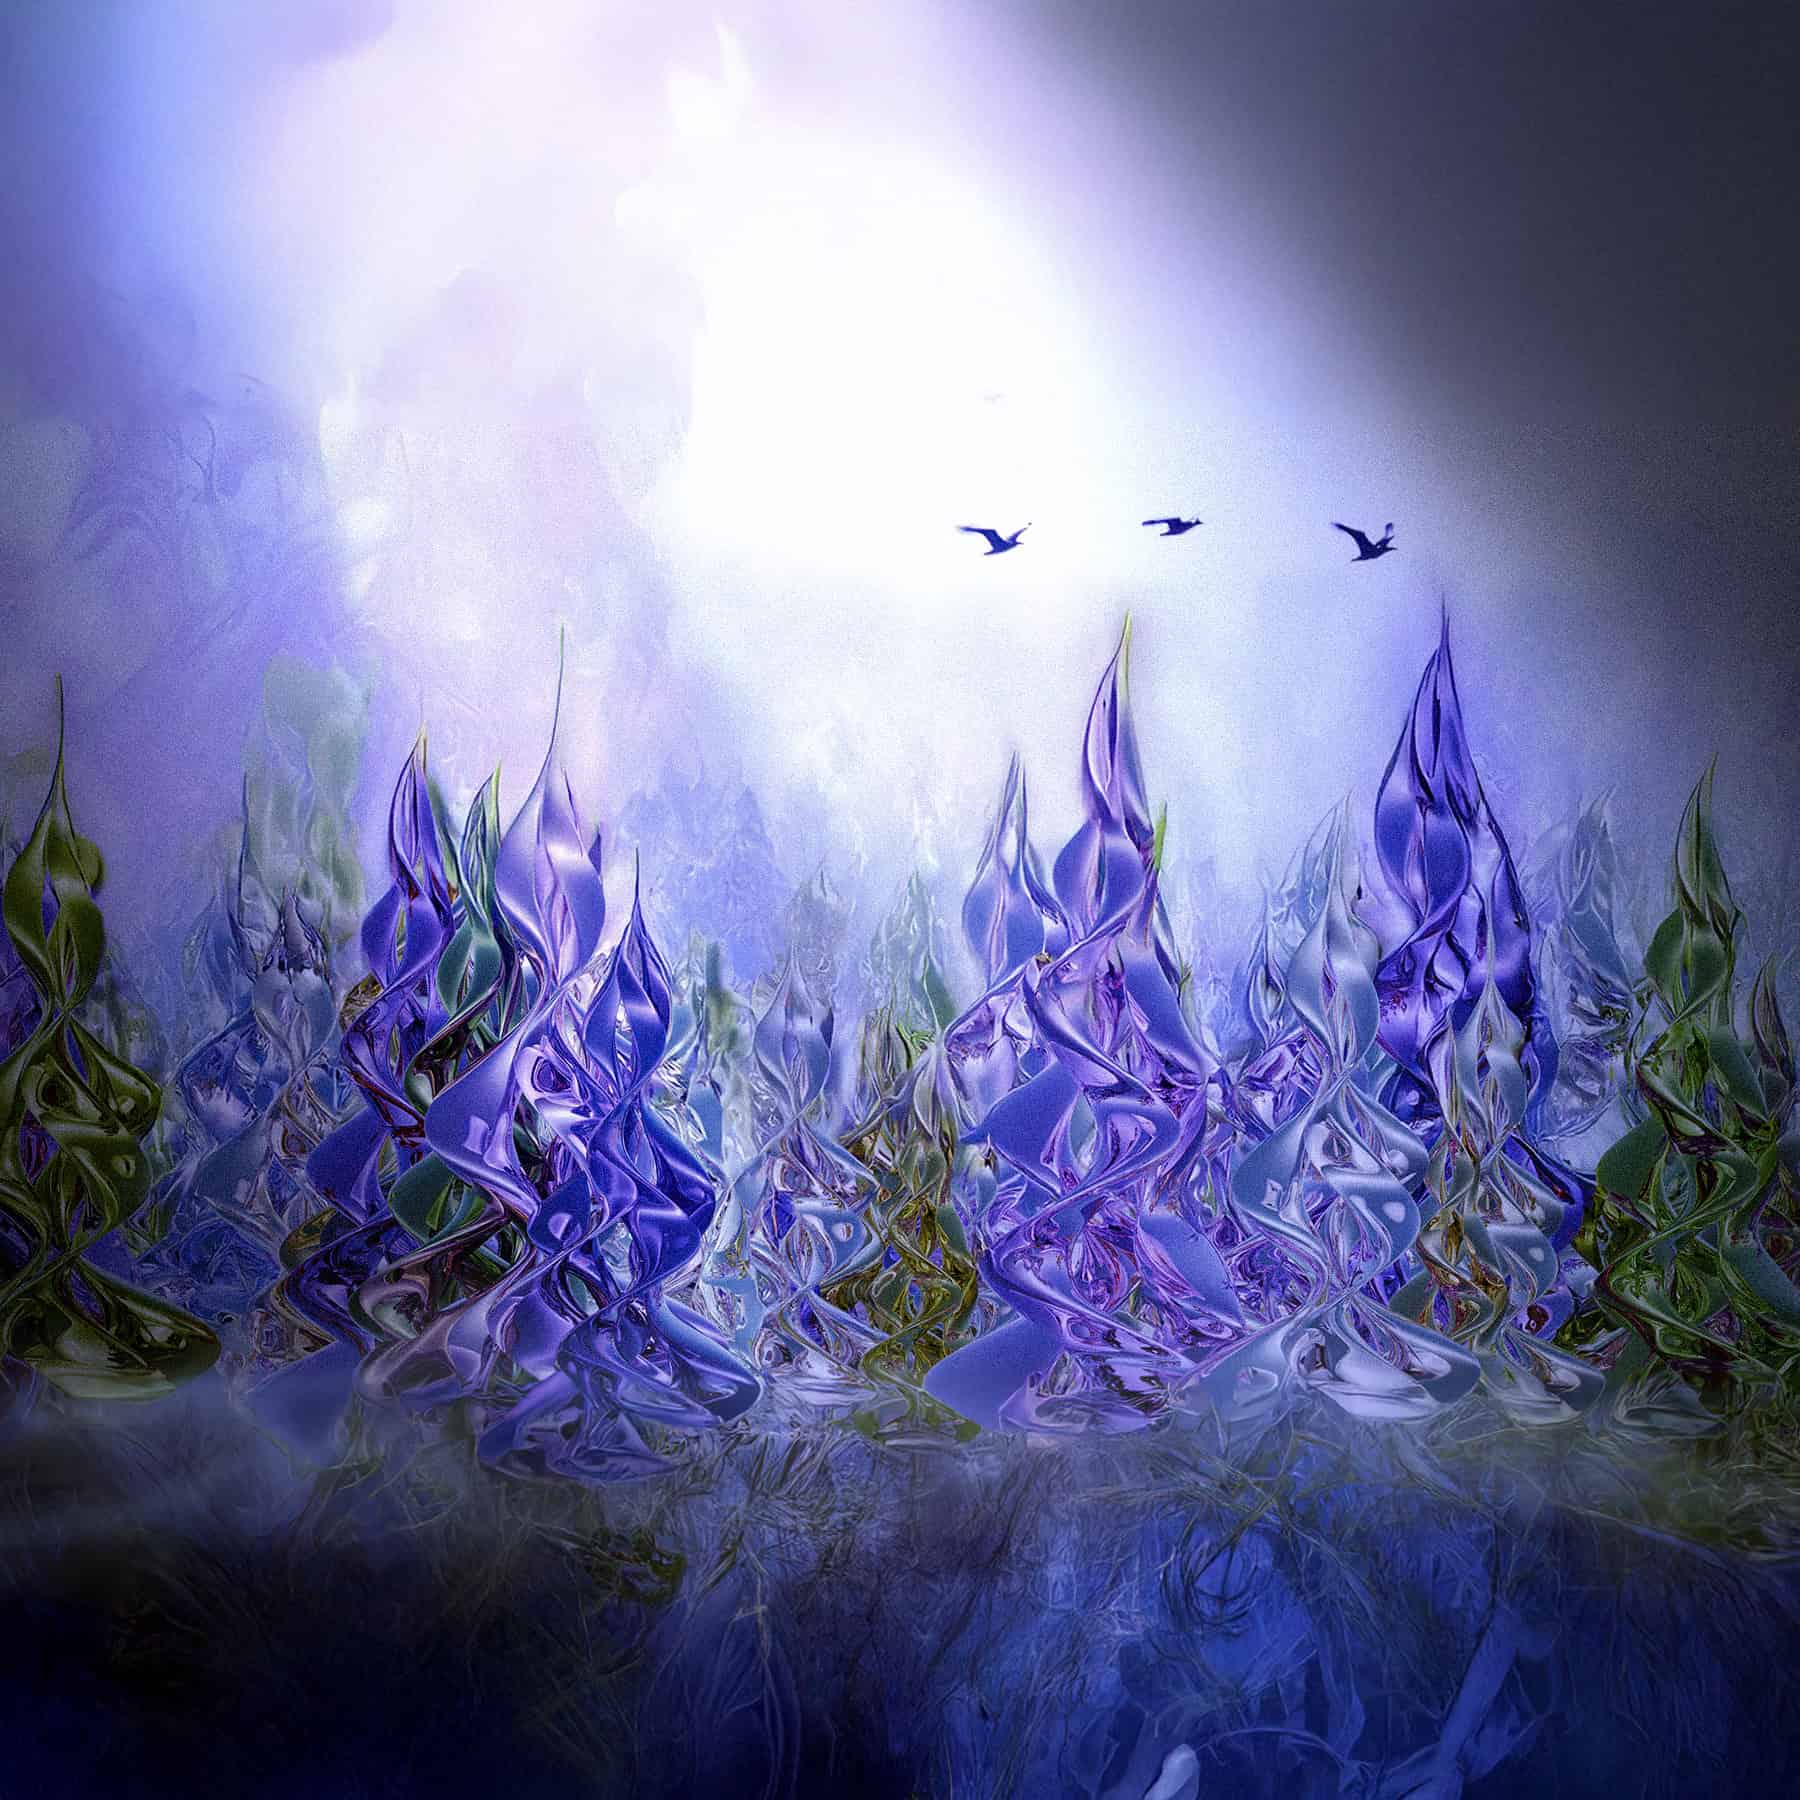
I then added a refraction image overlay that I got from Flurbos Depth Master, a package I highly recommend. The resulting image looked like this:
Next I converted this to a composite image layer (ctrl+alt+E) and converted that to a smart object. Then I brought it into the raw camera filter and adjusted the saturation, exposure, black levels, and other adjustments. This gave me the following image:
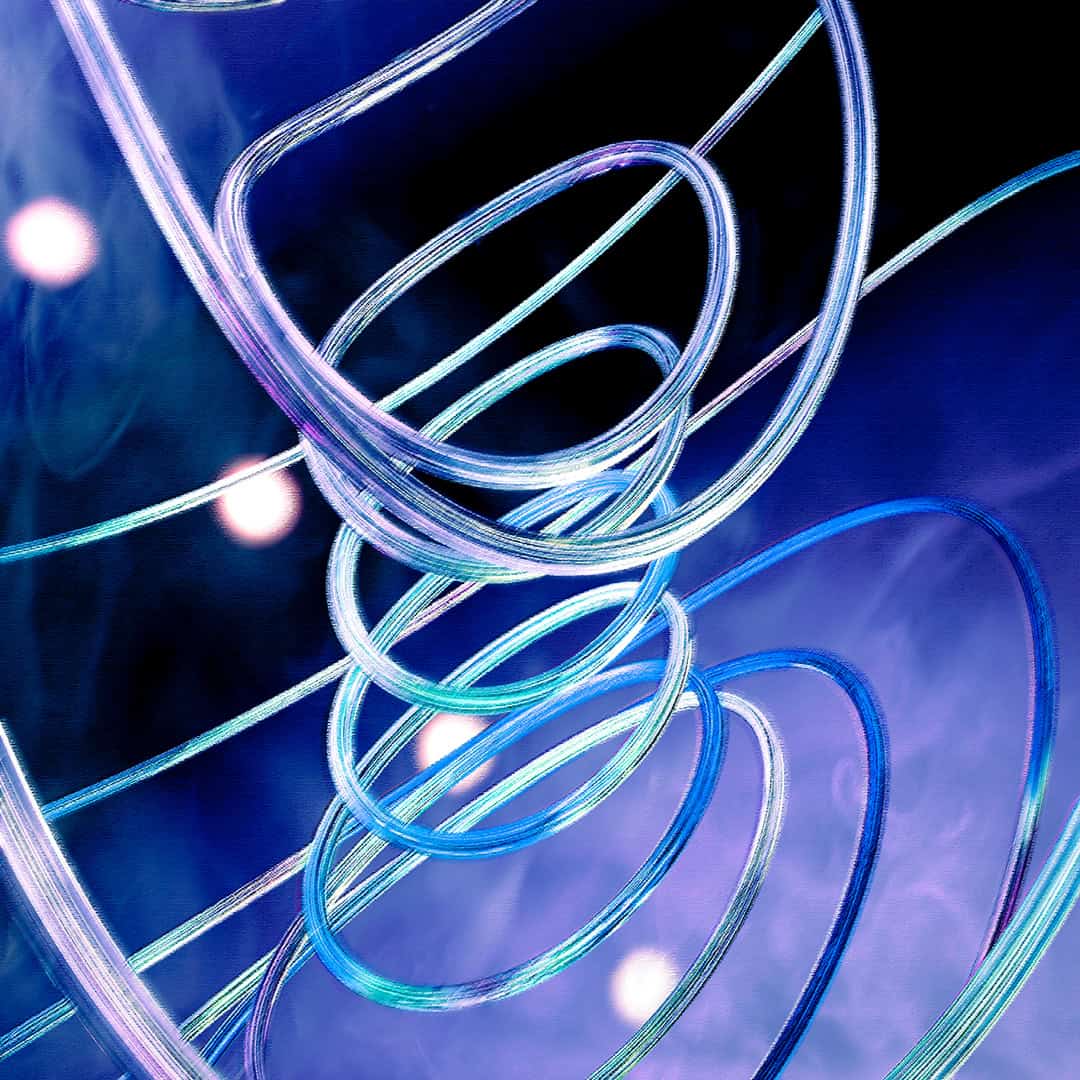
The final touches were to add a glare and smoke overlay from Flurbos (https://www.flurbos.com/), For the smoke layer I set the blend mode to hard light, and used a clipping layer to remove areas that I wanted to preserve where the smoke layer obscured. The final image is:
To see other attractor images I’ve created, click here.
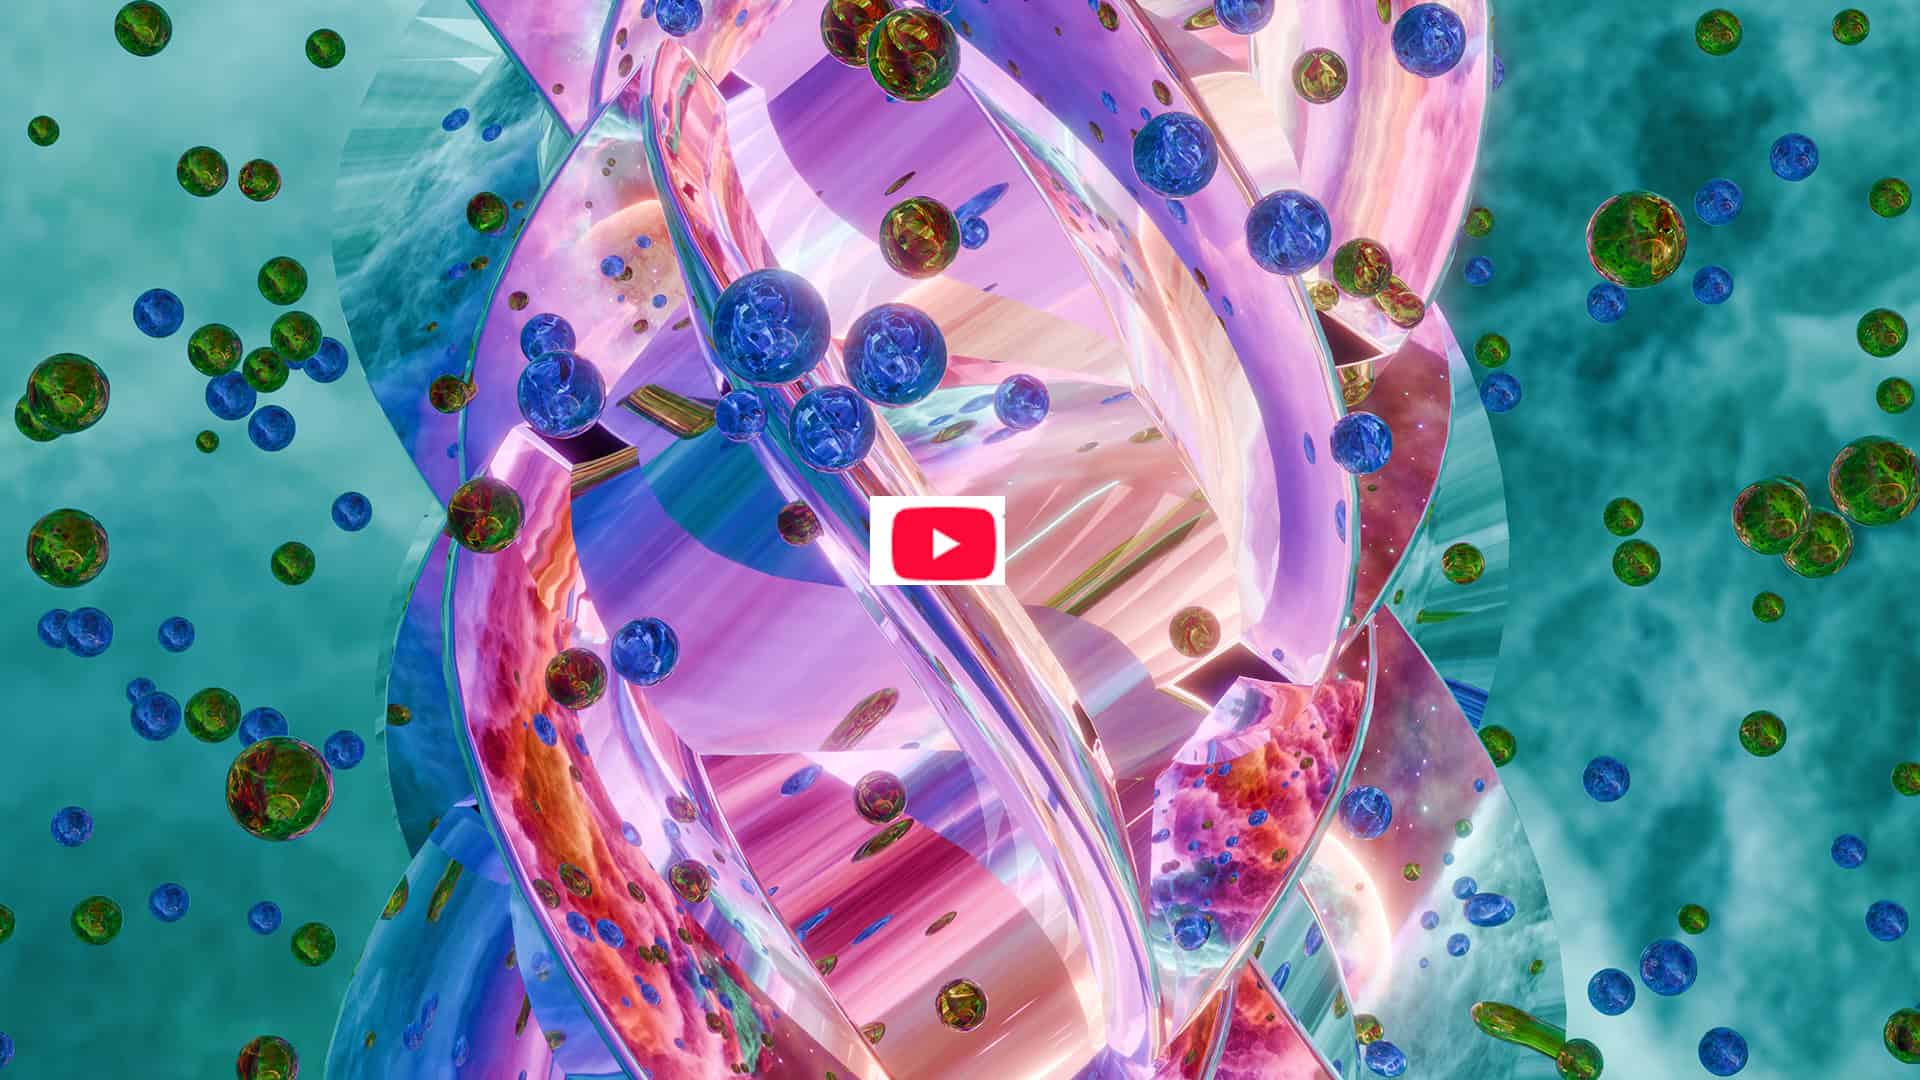
To watch a YouTube video on how to make these attractors in Blender Geometry nodes click here.
I hope you found this helpful. If you have questions don’t hesitate to reach out to me below.