Created in Blender 4.2 using geometry nodes based on the equation for a Lorenz attractor. Special shout out to MTR Animation for his excellent YouTube tutorial on building attractor models and the use of the new matrix nodes and repeat loop nodes in Blender.
This image is heavily customized in Photoshop. I used a combination of Flurbos overlays, neural depth filter, and other filter gallery effects. The color pattern is a result of using the Flurbos overlay in divide blending mode.
I started with the basic geometric nodes setup from MTR’s YouTube video on the use of matrix nodes (https://www.youtube.com/watch?v=qHUkQa0OOy0). This setup was based on creating a visual structure which in 3D forms an “attractor”.
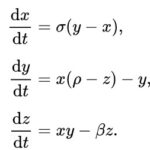
The math formula for this attractor is:
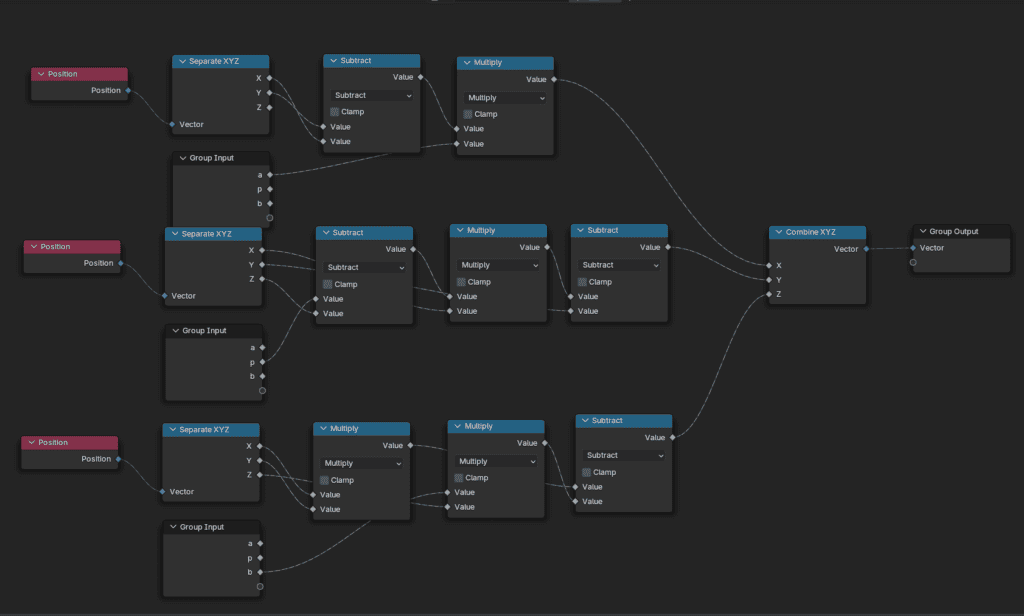
Using geometry nodes the node group for this was pretty easy to set up. This is really the key to making any type of attractor, by varying the node set up to match the specific equation for the various types of attractors. These formulas can be found both through Google, or like I did using Perplexity AI (my favorite search engine). Here’s a picture of the math node setup:
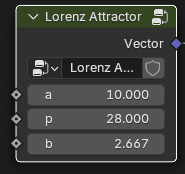
The values I used for the variables were:
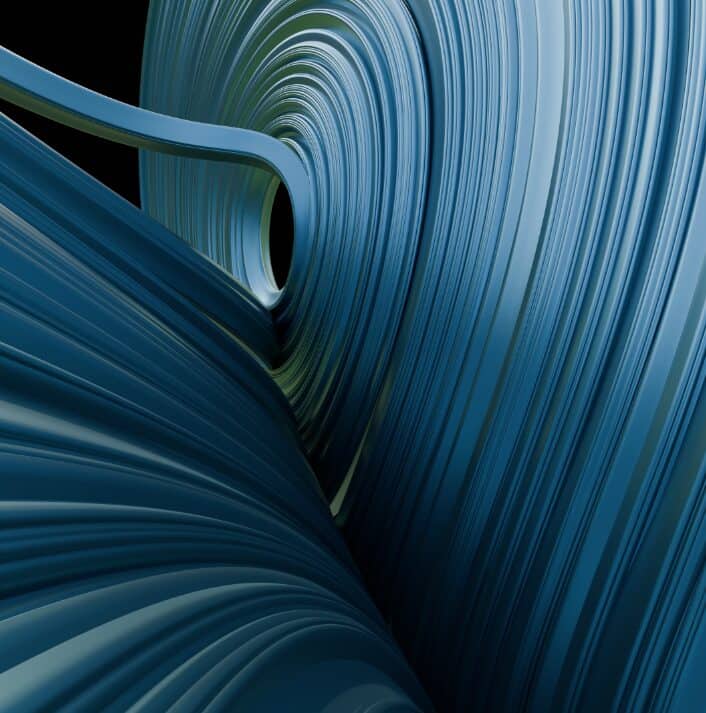
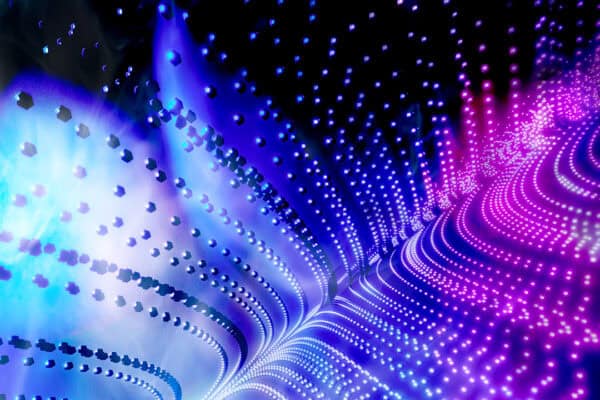
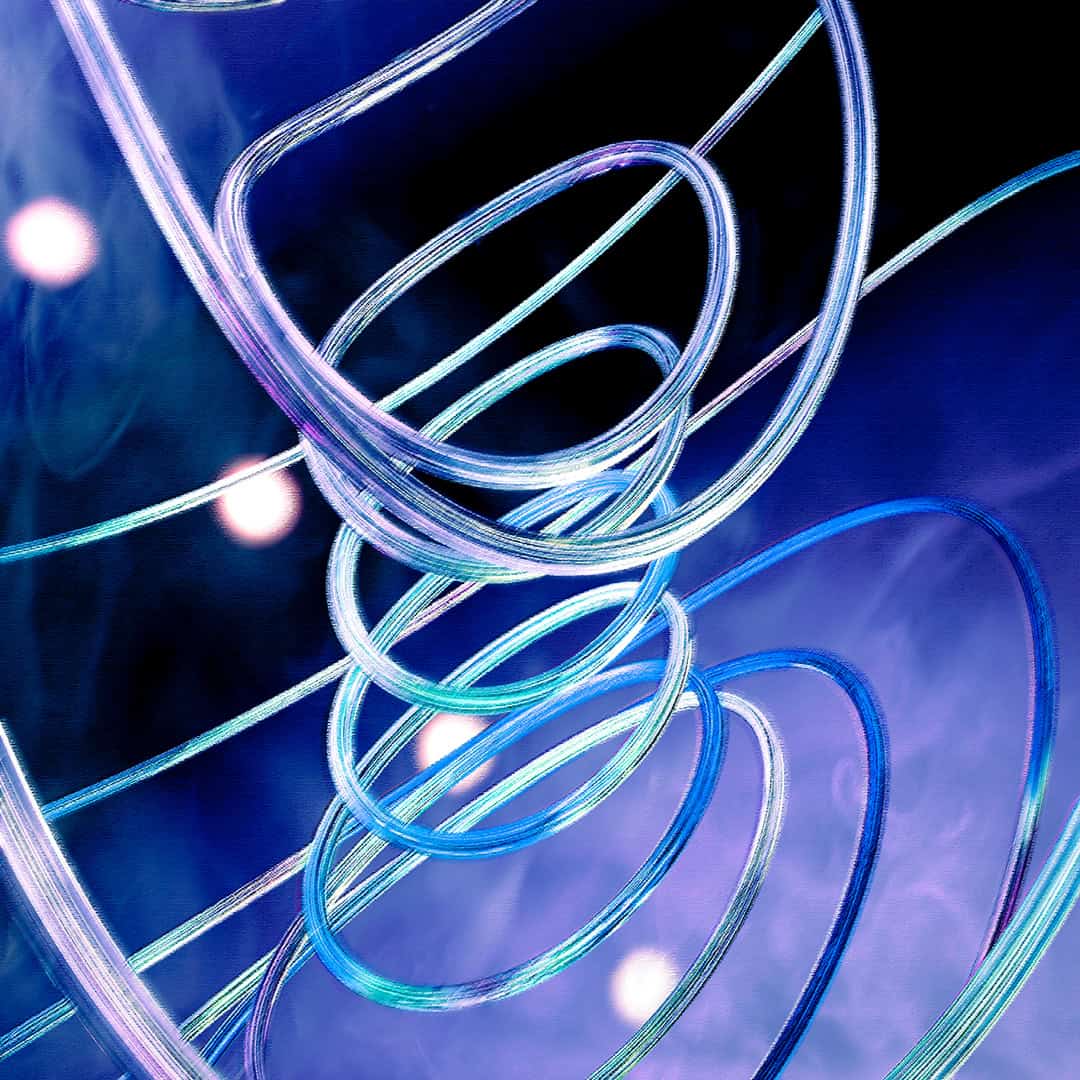
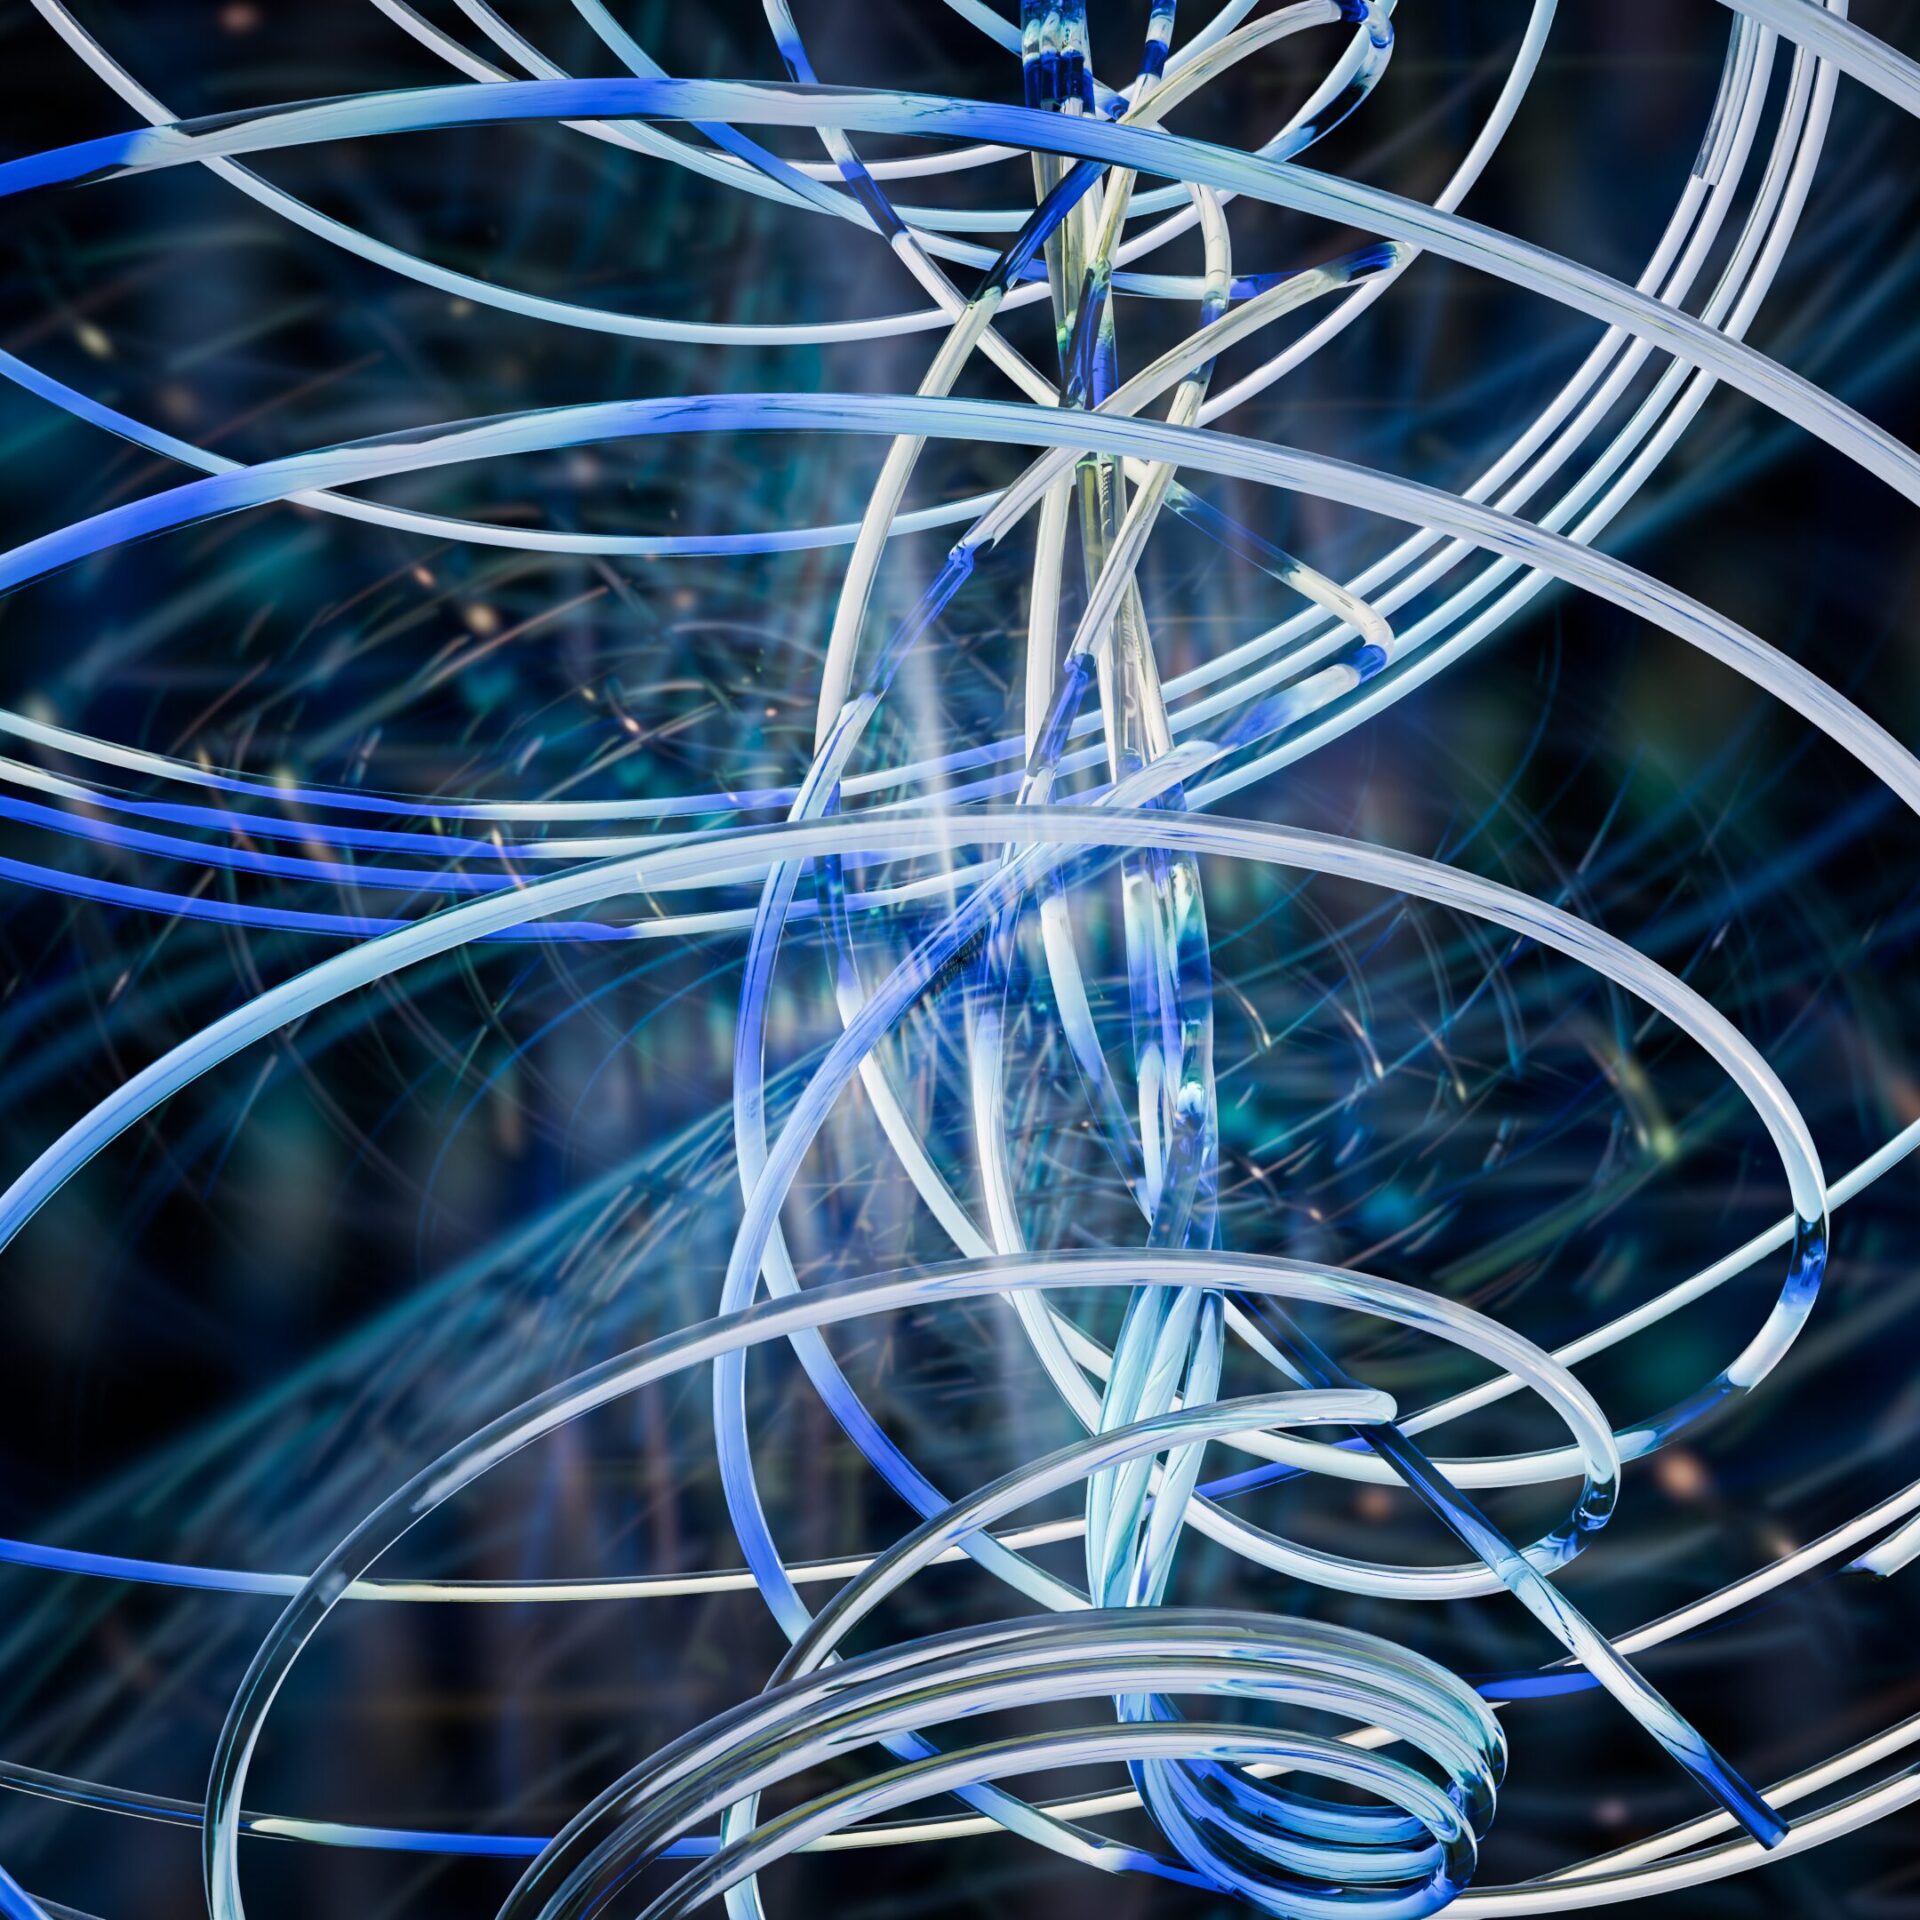
The initial cycles render in Blender (using a blue metal material) was this:
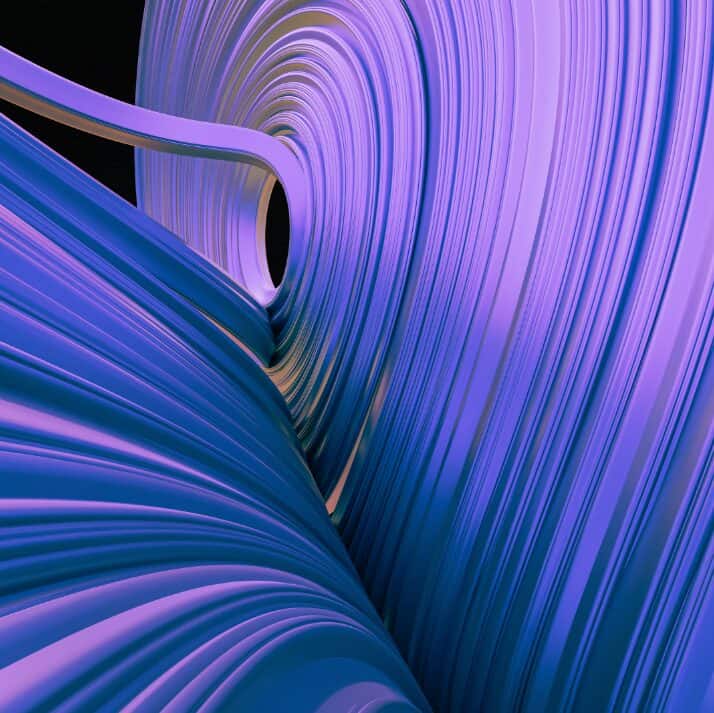
I then started my image modifications in Photoshop. First I converted the image into a smart object and then modified the image in the raw camera filter. The result of this was this:
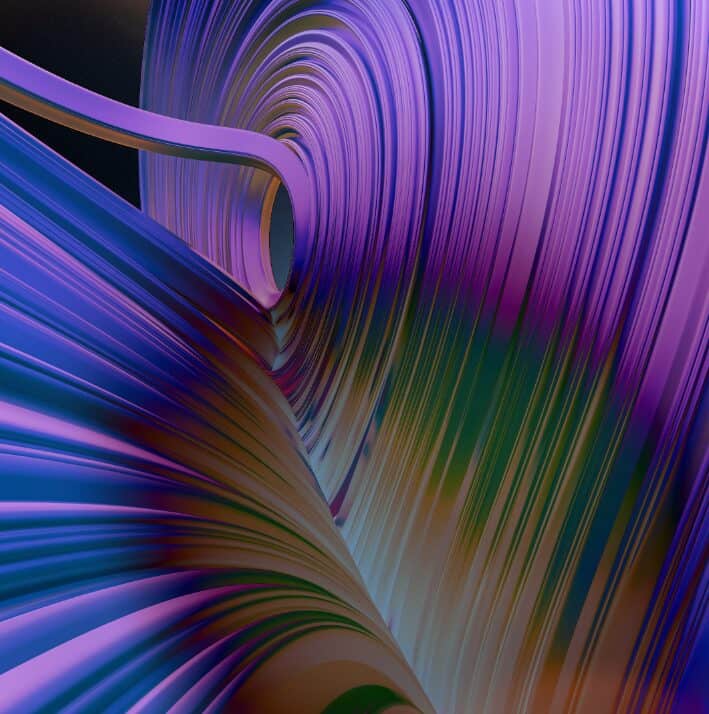
Next, I applied an overlay I got from Flurbos and set the blending mode to difference:
Next I added a lens flare Flurbos overlay:
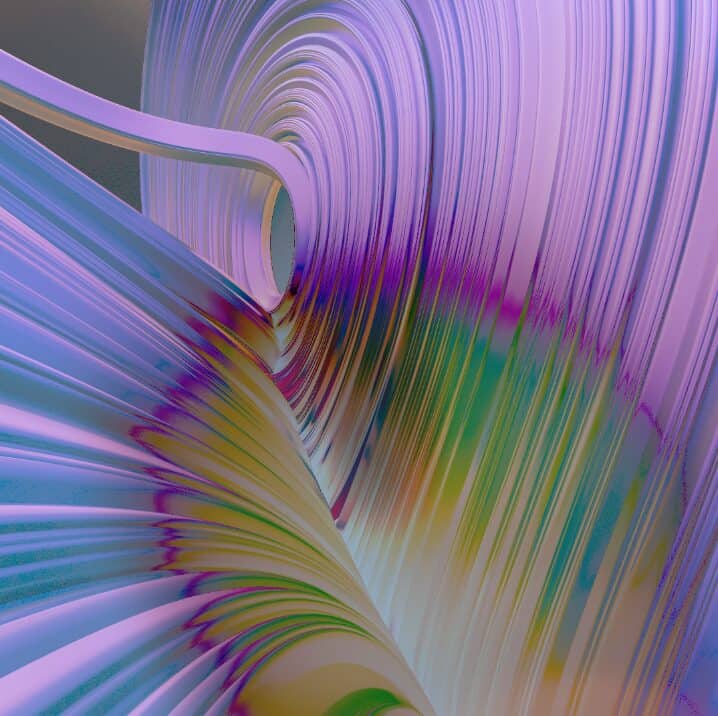
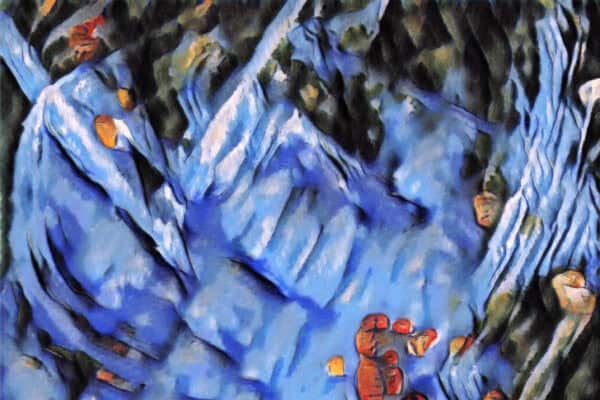
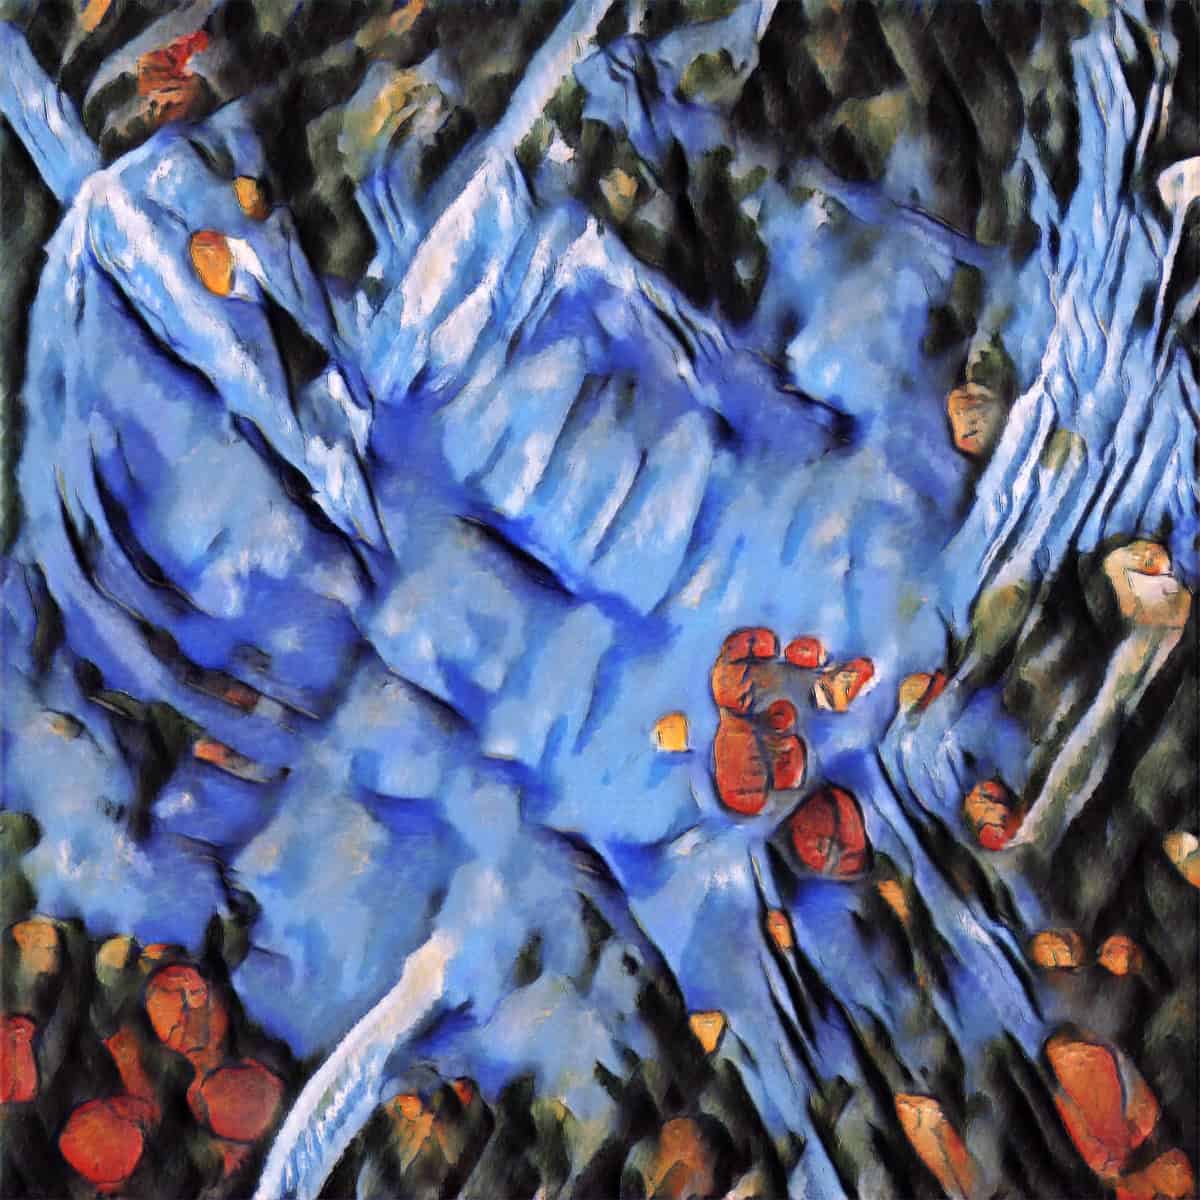
At this point I made a new layer of the combination of the layers below (ctrl+shift+alt+e), changed it to a smart object, and modified it in the camera raw filter. I then applied a filter gallery Daubs effect filter:
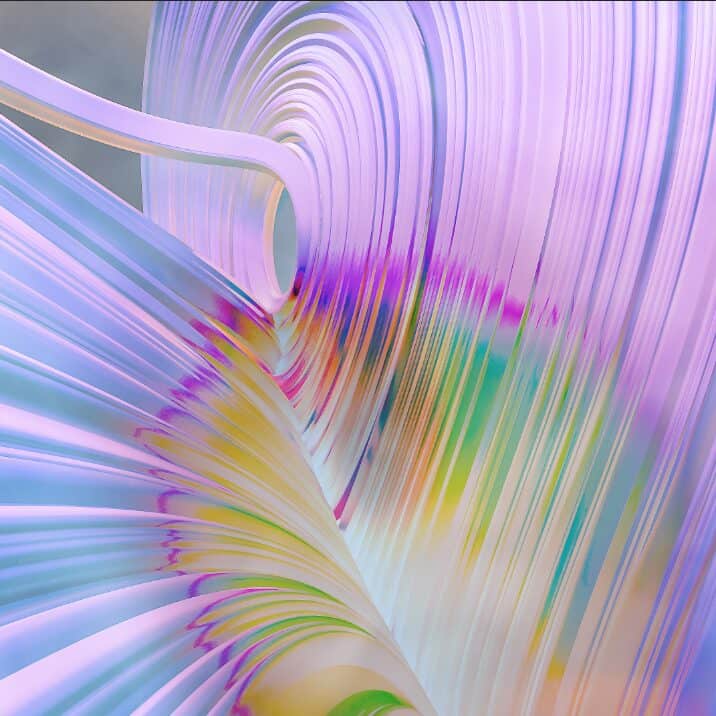
Next I added a Flurbos Smoke overlay and set the blending mode to overlay. I then edited the layer in raw camera filter. Then I added a clipping mask and painted out some of the smoke that was obscuring parts of the image that I didn’t want to be hidden. The smoke filter layer was set to a 66% opacity.
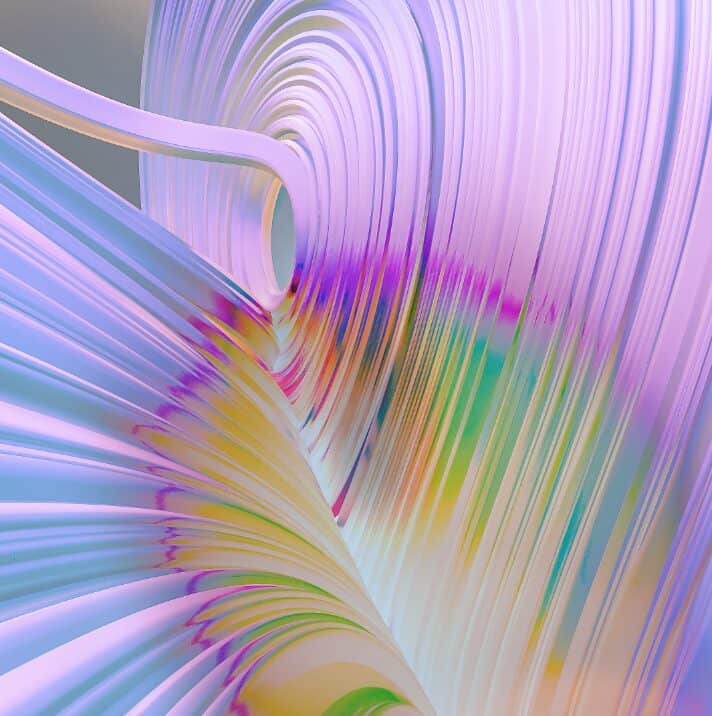
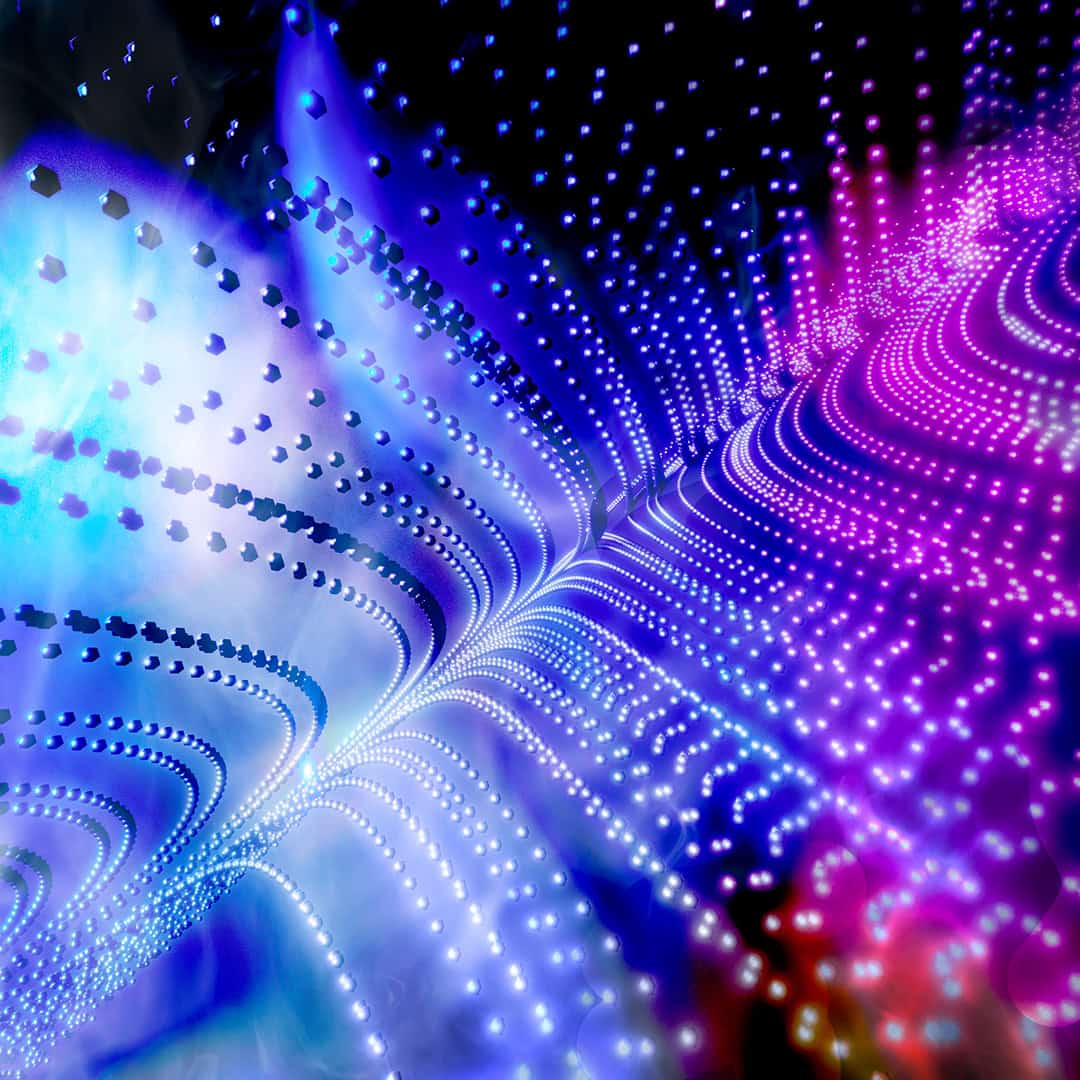
I then added a slight depth of field effect using the Photoshop depth of field neural filter. The result is a subtle blurring of the back of the image subject:
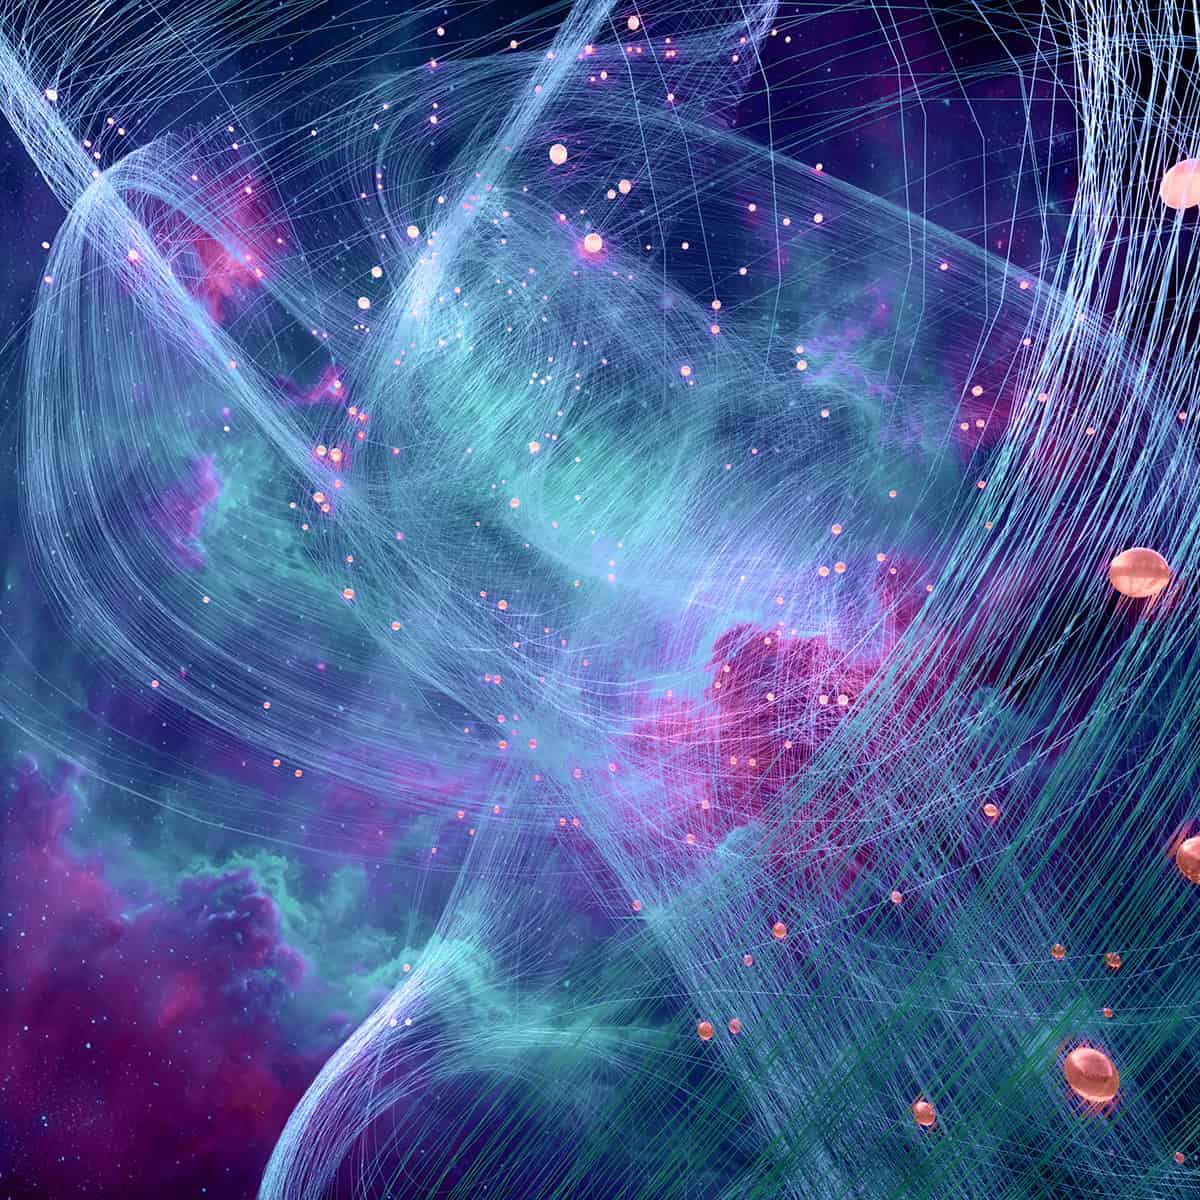
I’d like to say that I had all this in mind when I started out, but the truth is I had no idea what the image would look like after I played with it in Photoshop. This image could have gone a gazillion ways, but I am really happy with the way it turned out.
To see other attractor images I’ve created, click here.
To watch a YouTube video on how to make these attractors in Blender Geometry nodesclick here.