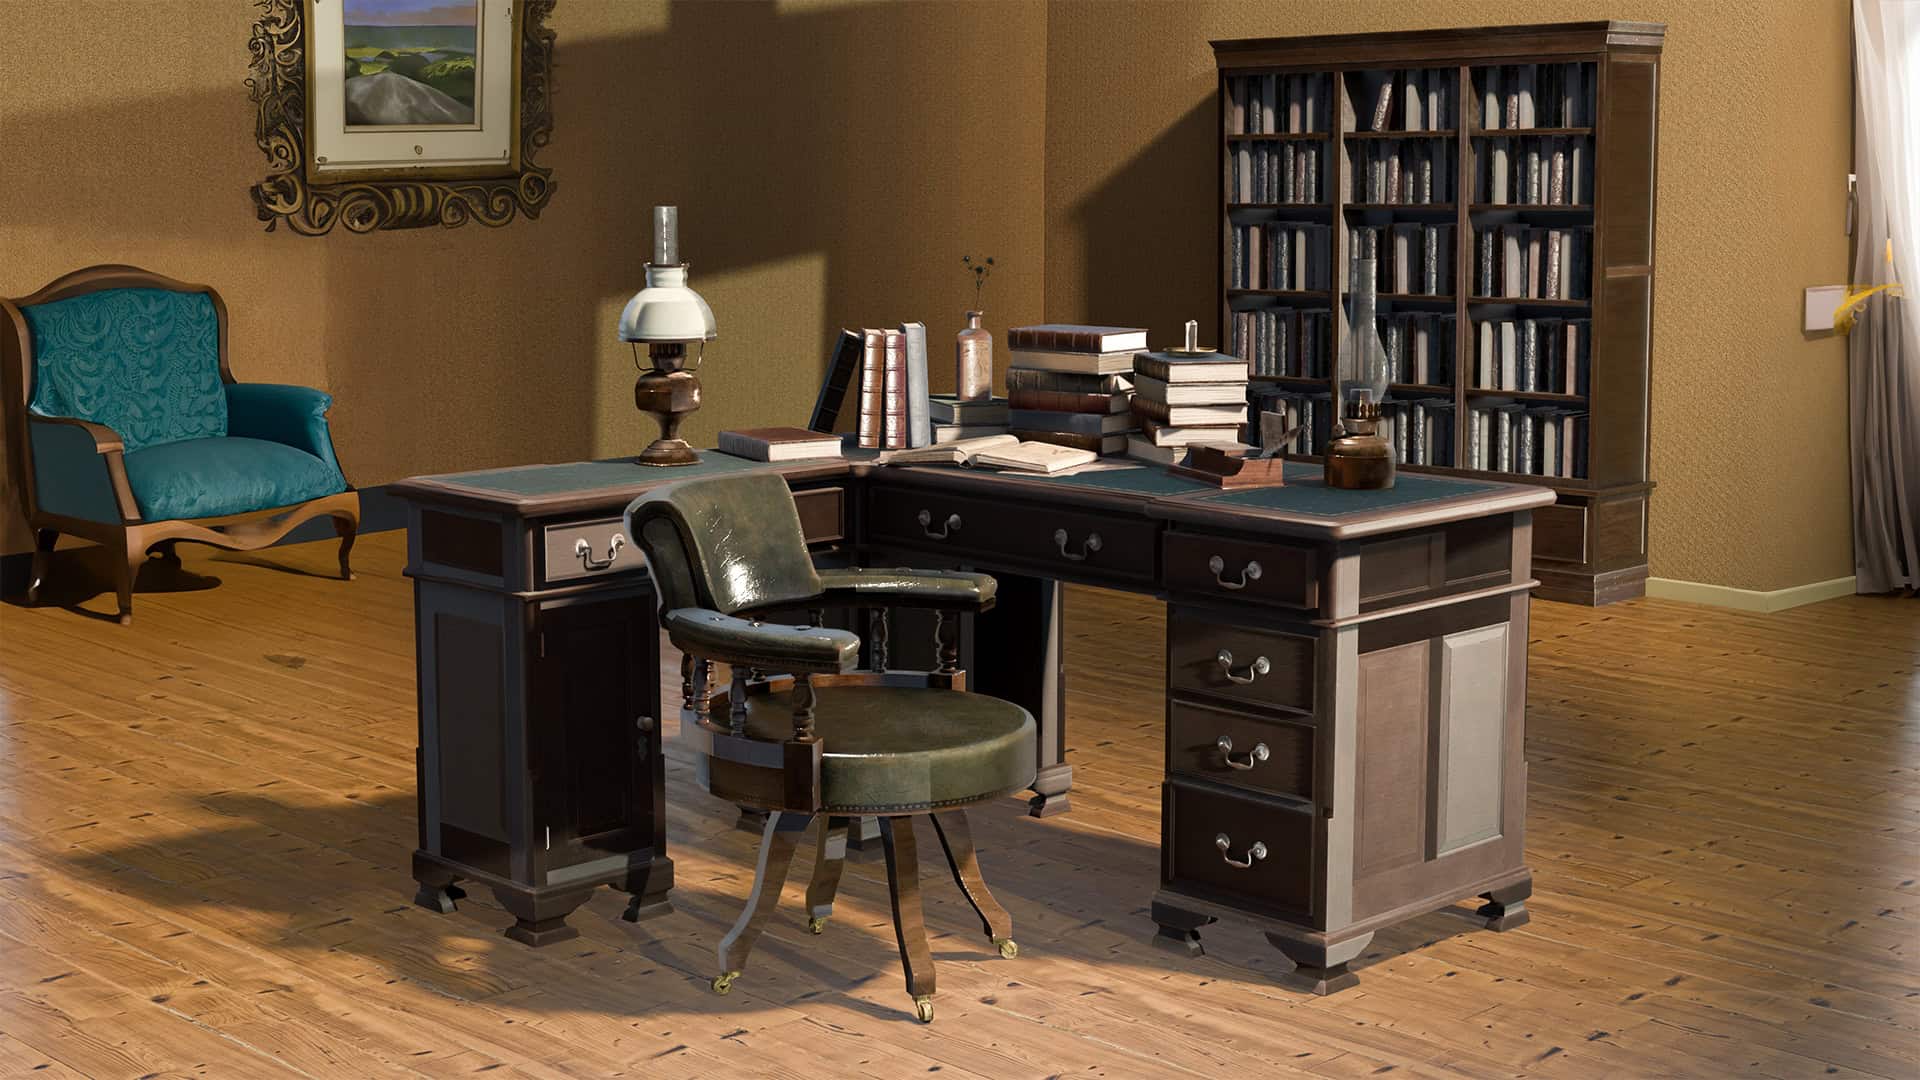
When I read in the “Medium” daily news about the new EEVEE ray tracing functionality in Blender 4.2 release candidate, I had to give it a try. In this post I’ll lay out what I found out, and the settings I used to produce the image above.
One of the things I’ve always experienced with EEVEE is that it never really approached the quality of Cycles, especially in its handling of glass and shadows. It’s probably my use of EEVEE, but my images always appeared flat. And also, getting a good result on glass (especially refraction) was really difficult. With the new 4.2 pre-release, all of that was a pleasure to work with.
For this image, I downloaded the Victorian period desk and bookcase from Sketchfab. I specifically went for the desk model as it had everything I wanted to test… deep shadows and bright highlights, glass, reflections, and refractions. I used Blenderkit for the wall texture. I wasn’t concerned about the chair, curtain, or painting, as I planned to add them later in Photoshop using generative fill AI (more about that later).
To enable ray tracing, you simply need to check the box in the render settings, and then fill in the appropriate settings. For the above image, here are the settings I used:
Note that the resolution setting is 1:4. Ideally, you’ll set this as high as possible (1:1). My computer uses a Nvidia 3080 GPU, and Blender crashed when I tried to set it higher than 1:4.
I found an excellent video on all of the possible ray tracing and lighting settings in Blender 4.2 by SouthernShotty
I played a lot with the lighting. I found an area light with a plane acting as a Gobo gave me the mood I wanted. I used an HDRI from Polyhaven to give me the overall fill I wanted.
Once I rendered out the image, I compared it to what I got using Cycles. While I feel Cycles still was superior (again this may be due to me rather than EEVEE), the render time with EEVEE was 6.2 seconds with 128 samples, whereas with cycles it was 36 seconds. This is super exciting, as the vast majority of my projects are animations. I have dual GPUs, so with EEVEE using placeholders my render time per frame would be 3 seconds per frame!
I haven’t yet used geometry nodes in 4.2, but hope to make a post on that in the coming months.
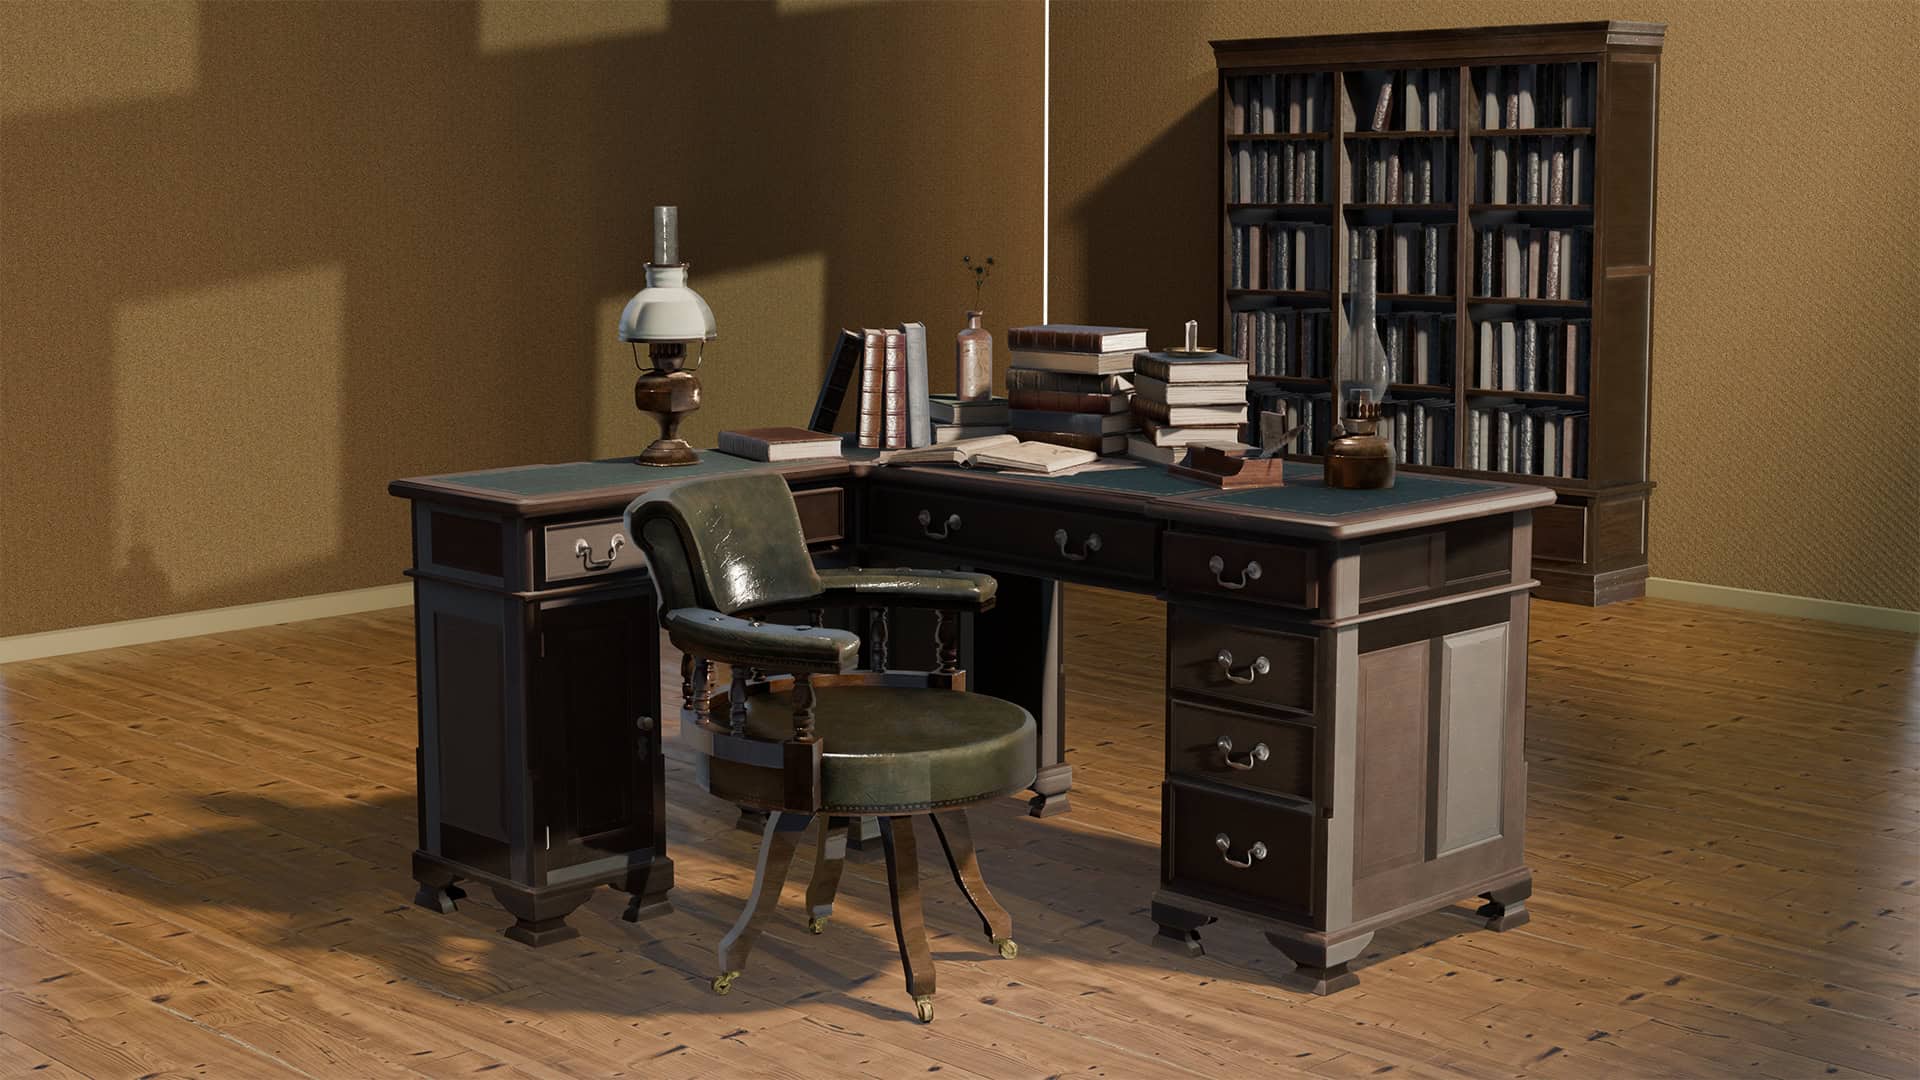
The base image I ended up with in Blender is:
I took this base image into Photoshop, and used generative fill to add the chair, picture on the wall, and the corner with the curtain. I also used adjustment layers to get the exposure and contrast exactly what I wanted. Obviously if I wanted to produce an animation of this I would probably just comp this in Photoshop, and then either build or buy the chair and painting models. I was especially impressed by Photoshop’s AI building the corner and window curtain on the far right side of the image.
Bottom line, I’d recommend downloading 4.2 and giving the new EEVEE ray tracing a try. I would really like to know what your experiences are. Please leave me comments..